
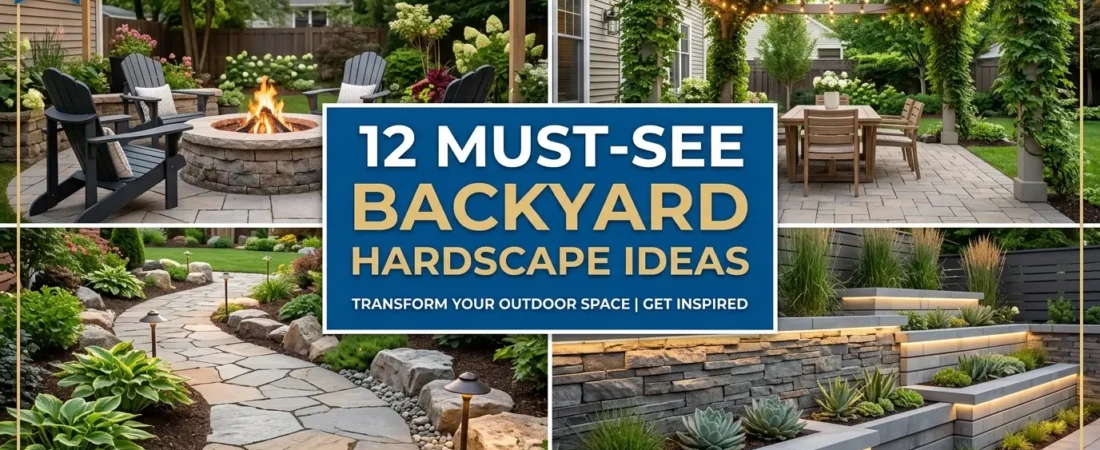
Plants die. Furniture gets replaced. String lights come down every autumn.
But a paver patio laid correctly in 2024 is still there in 2044. That is why backyard hardscape ideas matter more than almost any other outdoor investment — they outlast everything built on top of them.
These 12 ideas range from a $50 afternoon gravel project to a natural stone patio that adds genuine value to your home. I have included honest budget estimates and the one thing most guides skip: which projects are actually worth doing yourself and which ones are not.
Table of Contents
1. Lay a Concrete Paver Patio for a Clean Modern Base
✦ Modern Patio Designs
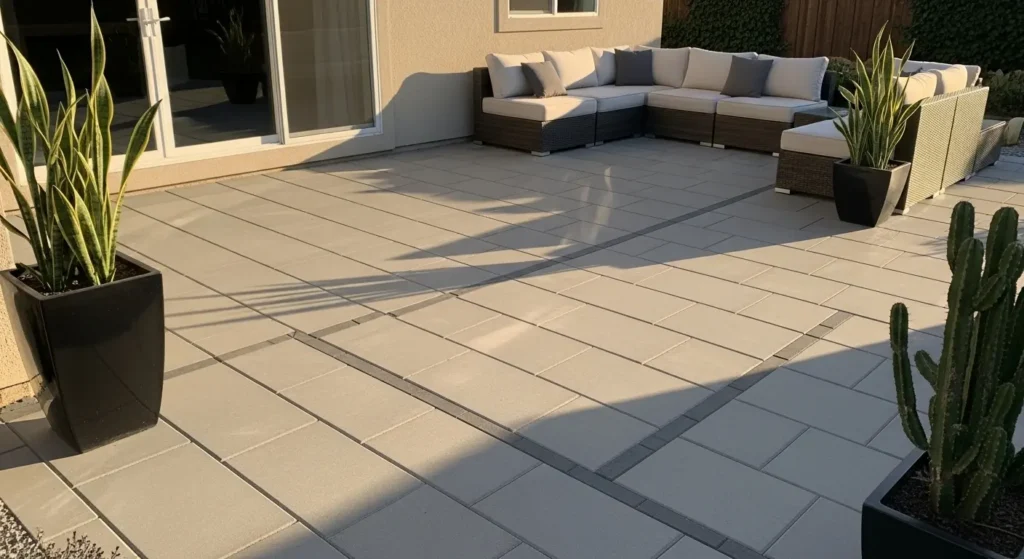
I think of a concrete paver patio the way I think of a good haircut. You do not notice when it is right. You notice everything else looks better.
Large format pavers in warm grey or natural stone tones suit modern backyards best. Lay them with narrow joints for a clean look or wider joints filled with gravel or creeping thyme for something softer.
A 12 by 12 foot paver patio can be completed in a weekend for under $400 in materials.
Large format pavers in warm grey or natural stone tones work best for a modern aesthetic. Lay them with consistent narrow joints for a sleek look or wider joints filled with gravel or low-growing creeping plants for a softer approach. A 12 by 12 foot paver patio can be completed as a weekend DIY project for under $400 in materials and completely transforms how your backyard feels and functions.
PRO TIP: Before laying any pavers call 811 — the national call-before-you-dig service — to check for underground utilities. This is free, takes one call, and is required by law in most states before any digging project.
2. Create a Gravel Patio for Maximum Impact on Minimum Budget
✦ Budget-Friendly Hardscape Ideas
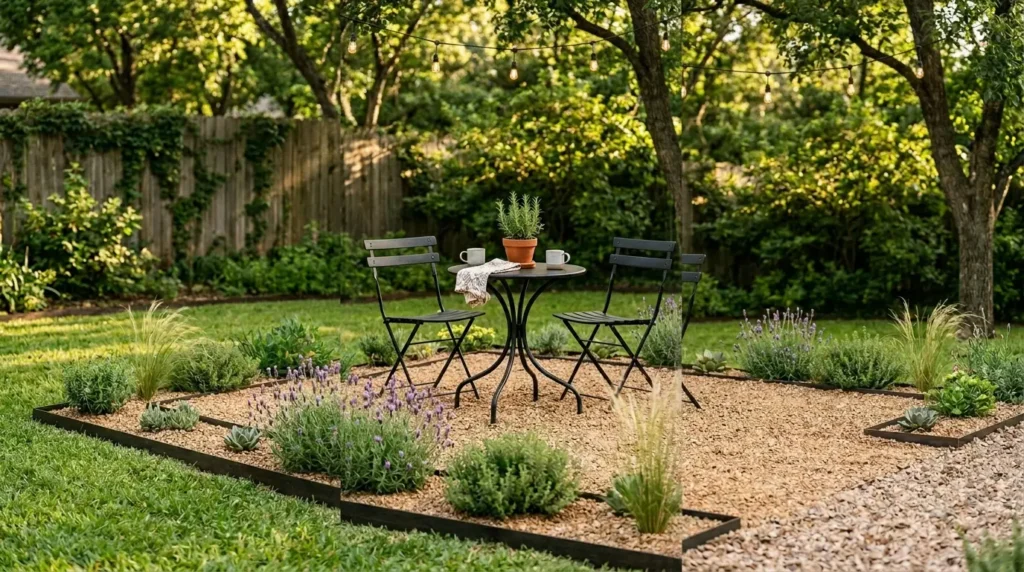
Gravel is the most honest hardscape material available. It costs almost nothing. It installs in an afternoon. It looks genuinely good when the edges are defined properly.
The secret is the edging. Without it gravel migrates into the lawn within one season and the whole thing looks abandoned. Metal landscape edging keeps it contained and crisp.
A 10 by 10 foot gravel patio costs $50 to $150 depending on the gravel type. That is the lowest barrier to entry for a proper outdoor surface that exists.
Define the edges with simple metal landscape edging to keep the gravel contained and create crisp clean lines. Lay landscape fabric underneath to suppress weeds before adding your gravel layer. A 10 by 10 foot gravel patio costs approximately $50 to $150 in materials depending on the gravel type and can be completed in a single afternoon. The LANSOW solar spotlights placed around the perimeter make it look incredible after dark. Find them linked on Amazon.
For how a gravel surface works as part of a complete low-maintenance garden design see our garden rock art ideas guide which covers the decorative elements that pair best with gravel.
3. Add a Flagstone Pathway Through Your Backyard
✦ Pinterest Favorite Setups
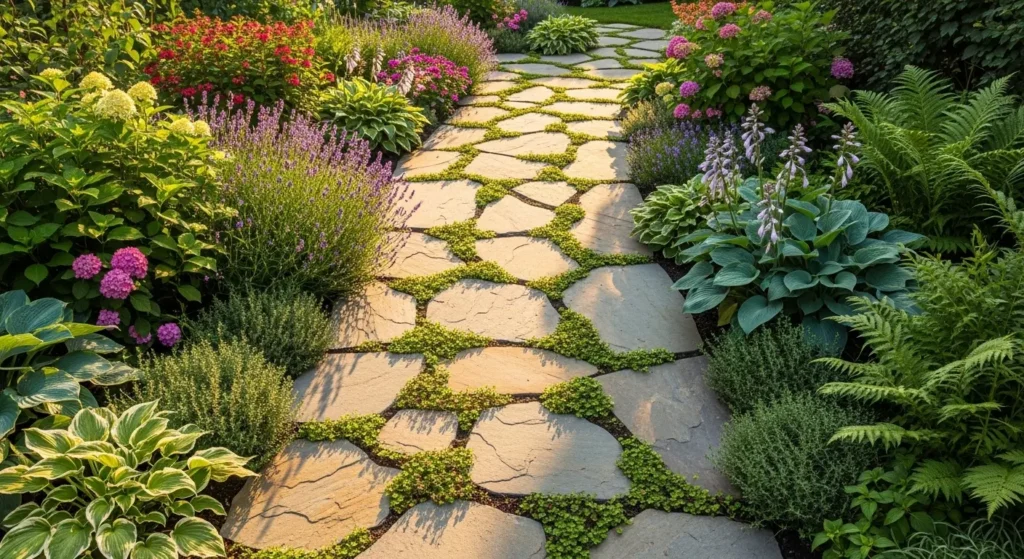
Flagstone is my favorite pathway material for cottage and naturalistic gardens because the variation in each stone is the point — no two look identical and the path feels like it grew there rather than was installed.
Set flagstones directly into soil or sand with gaps of two to three inches between each stone. Fill the gaps with creeping thyme, woolly thyme, or baby’s tears — these low-growing plants soften the hard edges of the stone and release fragrance when walked on. A flagstone pathway from your back door to your seating area or garden shed creates a defined route that makes the whole backyard feel more navigated and designed.
4. Use Stepping Stones to Define Space in a Small Backyard
✦ Small Backyard Solutions
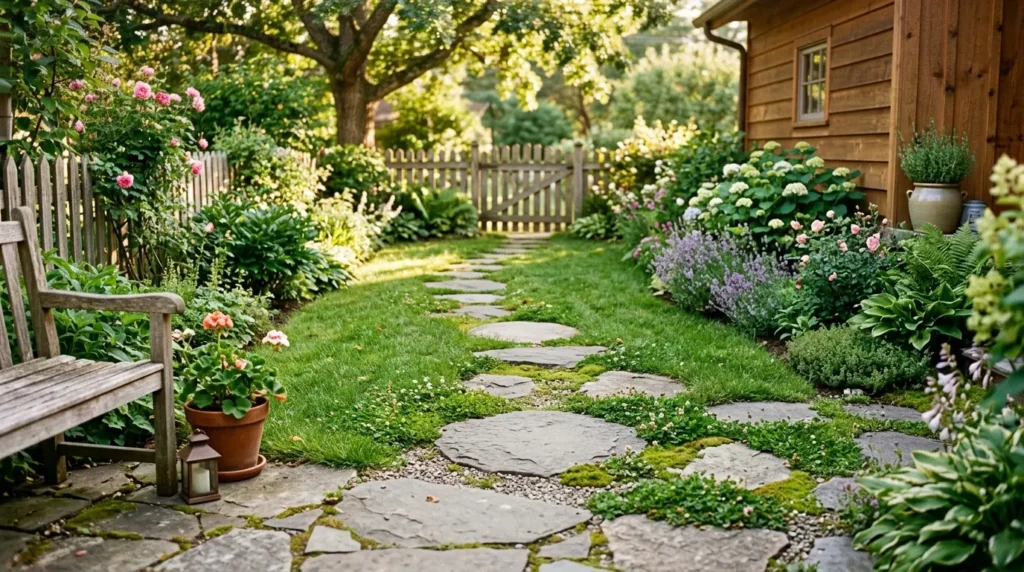
I use stepping stones specifically when someone wants to divide a small backyard into zones without any hard structure. They create the sense of separate areas without the commitment or cost of built hardscape.
Choose stepping stones that complement your fence or existing hardscape color. Round stones feel organic and relaxed. Square stones feel modern and intentional. Set them at a comfortable stride apart — roughly 18 to 24 inches center to center for most adults. Plant low-growing ground covers between them and at the edges to integrate them naturally into the garden.
PRO TIP: Before setting stepping stones permanently, lay them out on top of the ground first and walk across them multiple times at a natural pace. Adjust the spacing until every step feels completely comfortable. Then set them permanently.
5. Install a Natural Stone Patio for a Luxury Outdoor Room
✦ Luxury Outdoor Spaces
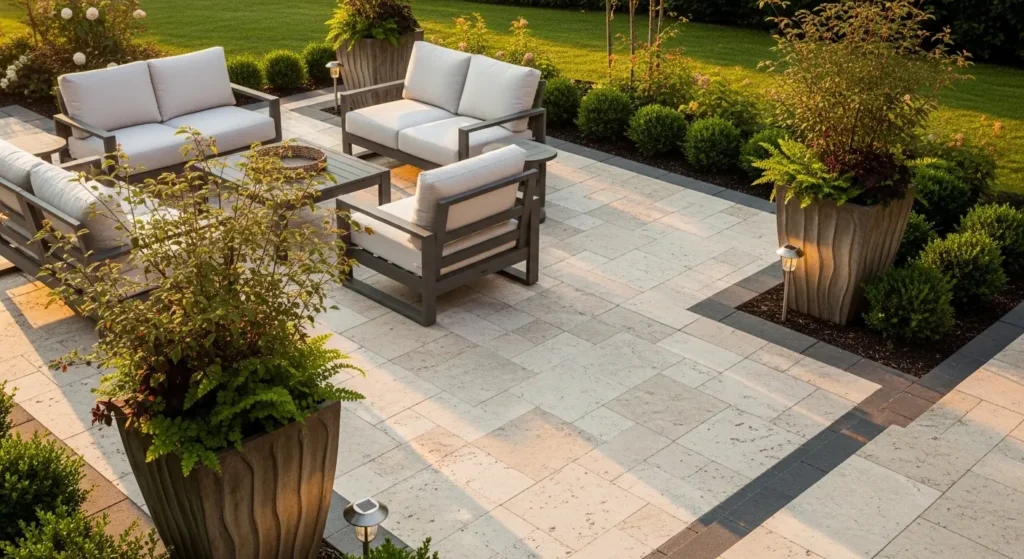
Natural stone is the one hardscape material I would never talk someone out of if they can afford it.
Pavers look fine. Natural stone looks like it was always supposed to be there. Bluestone gives a sophisticated grey-blue tone. Travertine gives warmth — cream and honey tones that feel Mediterranean without trying.
Both require professional installation. Both add real value to the property. Both look better at ten years than they did at one.
Bluestone and travertine are the most popular luxury patio choices in the US right now. Bluestone gives a sophisticated blue-grey tone that suits modern and transitional backyard styles. Travertine delivers warm cream and honey tones that feel Mediterranean and timeless. Both require professional installation for best results but the investment transforms a backyard into a genuine outdoor living space that adds real value to the property.
6. Build a Raised Paver Pathway Along Your Fence Line
✦ Stone Pathway Ideas
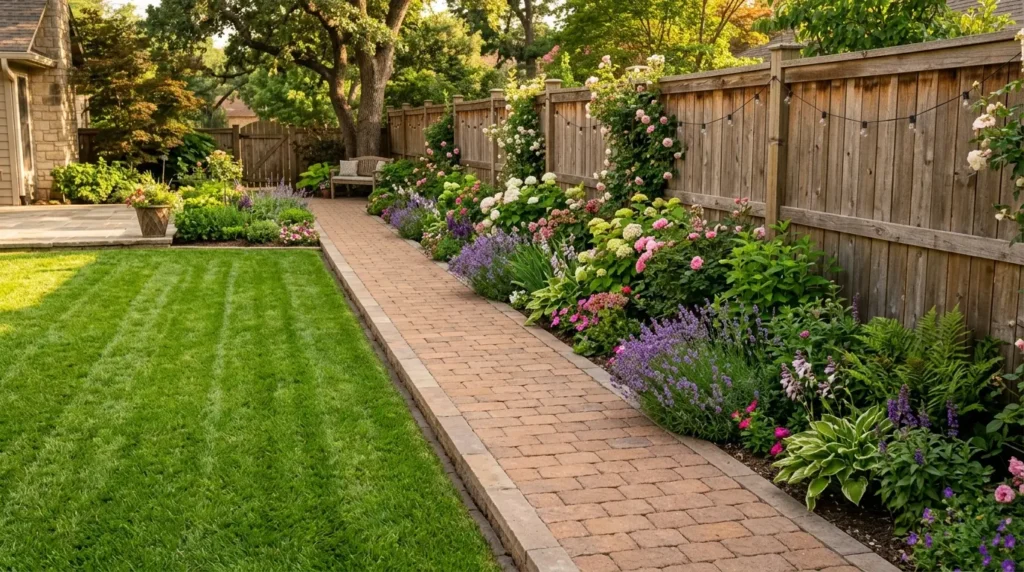
The fence line strip is the most neglected part of most backyards. I have seen it turn into a mud channel that makes the whole yard look unkempt. A single row of pavers fixes it permanently for almost nothing.
Lay a single or double row of pavers along the fence line raised slightly above lawn level. Plant low border plants along the fence side — lavender, ornamental grasses, or dwarf agapanthus all work beautifully. The pathway gives you clean access for fence maintenance while creating a defined planting border that makes the whole backyard look professionally landscaped.
7. Define Your Seating Area With a Paved Circle or Square
✦ Cozy Seating Areas
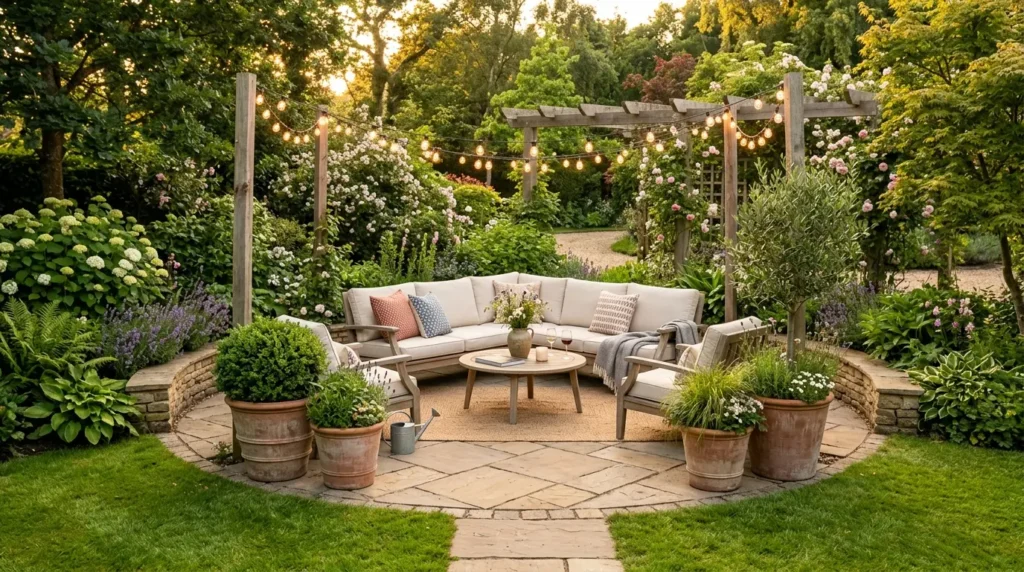
Defining the seating area with hardscape is the change I see make the biggest immediate difference in how a backyard reads. Before: furniture sitting on lawn. After: an outdoor room with a floor.
The defined hardscape area also protects your lawn from the constant foot traffic of a seating zone. Grass underneath outdoor furniture gets compacted and patchy quickly. A paved surface underneath your seating stays clean, level, and functional through any weather. Add the addlon solar string lights overhead in a canopy formation and the defined paved seating area becomes the heart of your entire backyard. Find them linked on Amazon.
For how to arrange furniture on a defined paved area see our patio layout ideas rectangle guide which covers the spacing and zone principles specifically.
PRO TIP: Make your defined paved seating area slightly larger than you think you need. It should comfortably fit all your furniture with at least 24 inches of clearance on all sides for comfortable movement. Tight paved areas feel cramped rather than cozy.
8. Create a Fire Pit Hardscape Pad for a Safe and Beautiful Setup
✦ Fire Pit Inspiration
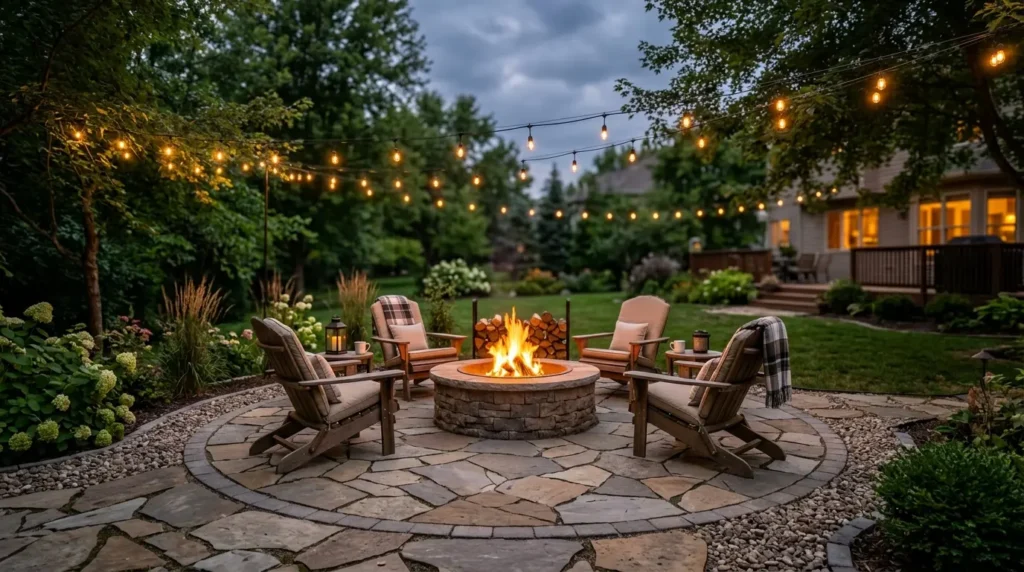
A fire pit directly on grass or soil is both a fire risk and an eyesore within one season. The pad is not optional — it is the thing that makes the fire pit look like a feature rather than a hazard.
Lay a circular or square pad of pavers, gravel, or natural stone at least 10 feet in diameter centered on your fire pit location. Use non-combustible materials only — no wood decking or composite material within 10 feet of an open fire. Edge the pad with larger border stones or steel edging for a clean defined look. The contrast between the hardscape pad and the surrounding lawn or garden makes the fire pit area the most defined and intentional zone in your backyard.
9. Use Concrete Edging for Clean Modern Backyard Lines
✦ Minimal Modern Style
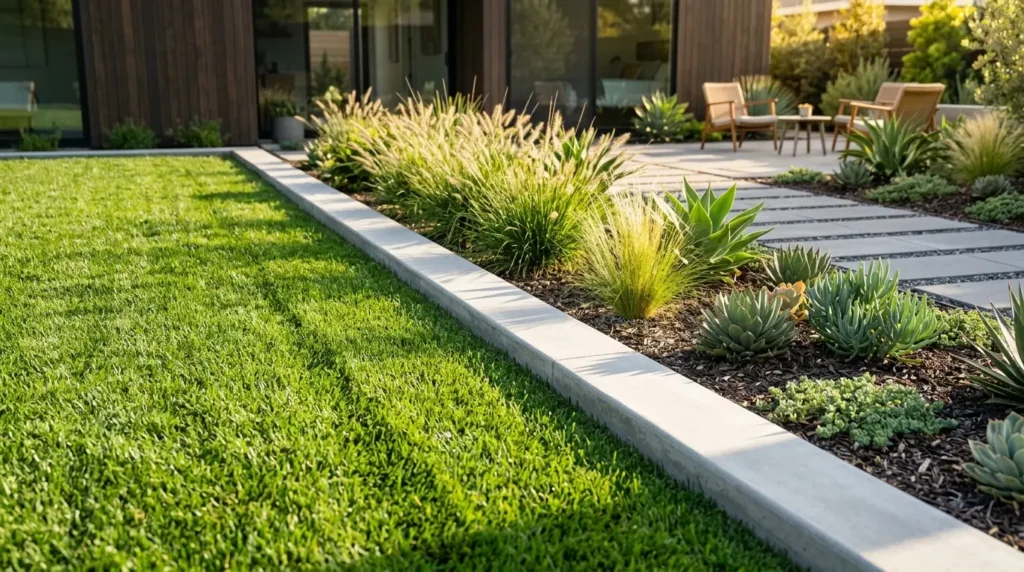
I think clean edging is the most undervalued backyard hardscape upgrade available. It costs almost nothing and the before-and-after is immediately visible to everyone who walks into the garden.
Concrete edging, steel landscape edging, or corten steel edging all deliver the clean modern line that makes this technique work. Steel edging is the most popular choice for modern backyards — it is thin enough to be almost invisible when installed at grade level, weathers to a beautiful rust patina over time, and is flexible enough to follow curved bed lines. Install it yourself in an afternoon for under $60 in most backyards.
10. Build a Simple DIY Paver Patio in a Weekend
✦ DIY Hardscape Projects
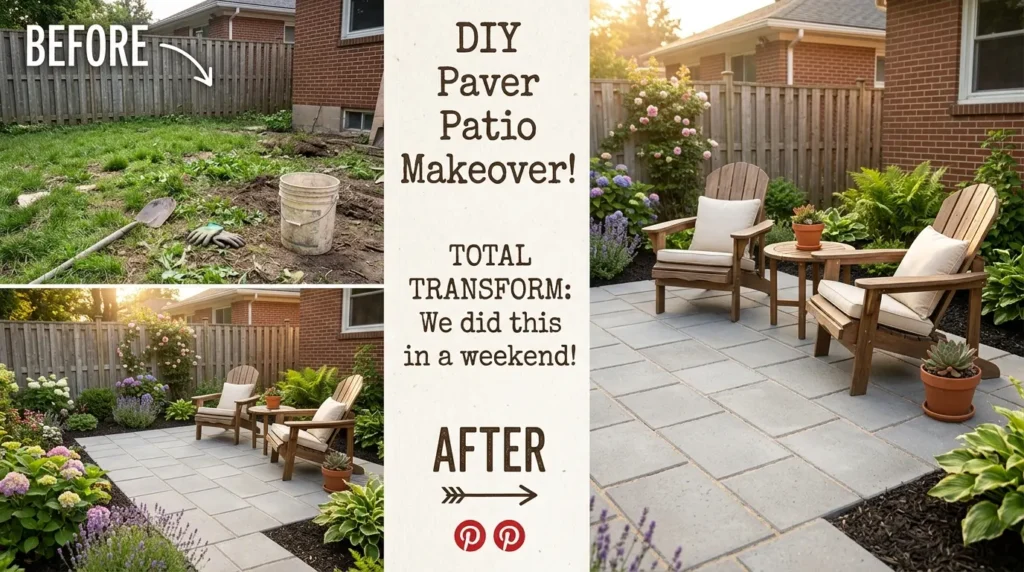
A DIY paver patio is the most achievable backyard hardscape project for a first-timer and the one with the highest visible payoff. No special skills are required — just the right preparation, the right materials, and one full weekend of work. The result looks like professional landscaping and adds genuine value to your home.
The process is not complicated. Mark the area. Dig 4 to 6 inches down. Compact gravel base. Sand setting bed. Lay pavers. Polymeric sand in the joints. Compact the whole thing with a rented plate compactor.
Two days. $200 to $350 in materials. A plate compactor rented for $50 to $80 is non-negotiable — skipping it means the patio moves and settles within a year.
PRO TIP: Rent a plate compactor from your local home improvement store for the day rather than buying one. The compactor is essential for a stable long-lasting paver base and costs around $50 to $80 to rent for a day.
11. Add a Small Water Feature as a Hardscape Focal Point
✦ Water Feature Ideas

The sound of water is what I notice most in well-designed outdoor spaces. It does something to the atmosphere that no visual element can replicate — it makes the backyard feel like somewhere you went rather than somewhere you live.
A self-contained solar-powered fountain requires no plumbing or electrical work. Place it on a paver pad or within a gravel surround for the cleanest hardscape integration. Surround the base with river stones and low water-loving plants to make it look like it was designed as part of the garden rather than placed as an afterthought. A quality self-contained outdoor fountain costs between $60 and $200 and transforms the feel of any backyard permanently.
12. Blend Hardscape and Planting for a Naturalistic Design
✦ Garden and Hardscape Blend
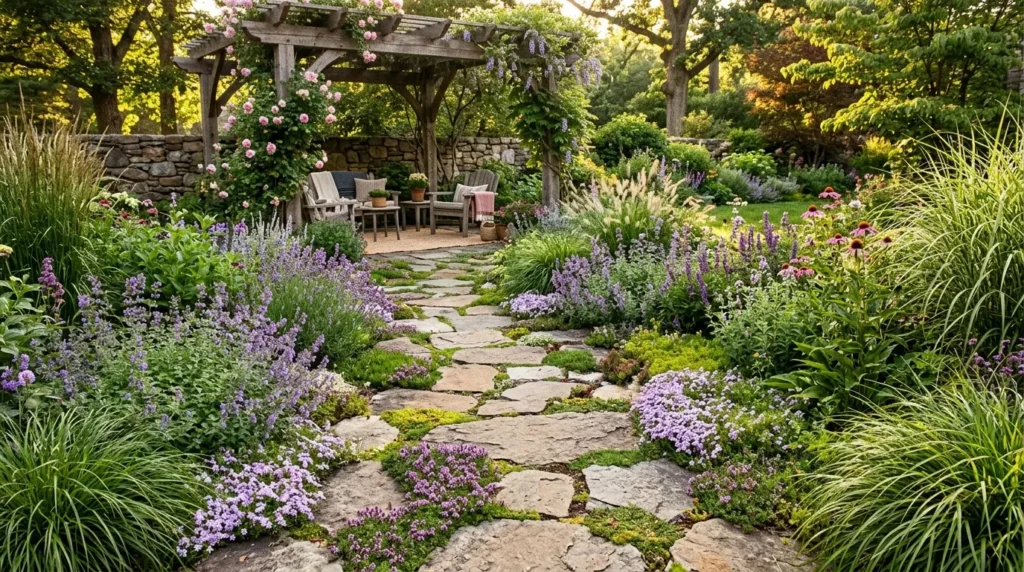
The blended hardscape-and-planting look is what separates a designed garden from a paved yard with pots in it. I find it is also the most achievable luxury look — creeping thyme between pavers costs almost nothing and takes one growing season to establish.
The key to blending hardscape and planting successfully is choosing plants that thrive in the conditions created by hard surfaces — reflected heat, sharp drainage, occasional foot traffic. Creeping thyme, sedum, alyssum, and ornamental grasses all perform beautifully at the edges of pavers. The VOOKRY Solar Watering Can Light placed within a blended planting and paver scheme creates a stunning focal point that bridges the hard and soft elements perfectly. Find it linked on Amazon.
For the specific plants that work best at paver edges and in stone joints see our deer resistant drought tolerant plants guide which covers the low-maintenance options that handle reflected heat and sharp drainage.
PRO TIP: When blending hardscape and planting deliberately leave some paver joints slightly wider than others in key spots to plant into. Plan your planting gaps before you lay your pavers rather than trying to add them afterward.
5 Backyard Hardscape Mistakes That Cost You Later
These are the mistakes that look fine at first and create expensive problems later:
Mistake 1 — Skipping the base preparation
Laying pavers directly on soil without a proper compacted gravel base causes settling, cracking, and uneven surfaces within one or two seasons. The base is the most important part of any paving project. Never skip it to save time or money.
Mistake 2 — Making the patio too small
The number one regret of homeowners who install patios themselves is making them too small. A patio that fits your furniture exactly feels cramped. Add at least 24 to 36 inches of clearance beyond your furniture footprint on all sides.
Mistake 3 — Choosing style over material quality
Cheap pavers crack, fade, and crumble faster than you expect. Spending slightly more on quality materials upfront saves you from replacing them in five years. The labor cost to replace a patio is often more than the original installation.
Mistake 4 — Ignoring scale and proportion
Small pavers on a large patio look busy. Large pavers in a small space look overwhelming. Match your paver size to the scale of your space — larger format pavers for larger patios, smaller stones for intimate spaces.
Mistake 5 — No lighting plan
A beautiful hardscape that is completely dark after sunset is half a backyard. Plan your solar lighting alongside your hardscape design — not as an afterthought. Spots for path lights, spotlights, and overhead lighting should be considered before the first paver goes down.
📌 More backyard ideas: 12 Boho Garden Ideas You’ll Love
Frequently Asked Questions
What is backyard hardscape?
Backyard hardscape refers to all the non-living hard surface elements in an outdoor space — patios, pathways, driveways, retaining walls, fire pit areas, stepping stones, edging, and water features. According to the American Society of Landscape Architects, hardscape forms the structural foundation of any landscape design and should be planned before softscape elements like plants and lawn.
What is the cheapest backyard hardscape option?
A gravel patio at $50 to $150 for a 10 by 10 foot area is the lowest cost hardscape project that delivers a genuine visual upgrade. Decomposed granite pathways, concrete landscape edging, and DIY stepping stones are all under $100 and can be installed without professional help.
Does hardscape add value to a home?
Yes — quality backyard hardscape consistently adds value to a home. A well-designed patio or outdoor living space typically returns 60 to 80 percent of its cost in home value according to the National Association of Realtors. Natural stone patios and professionally designed outdoor living spaces tend to return the highest percentage. Even budget hardscape improvements like gravel patios and stone pathways improve curb appeal and buyer perception significantly.
What hardscape material lasts the longest outdoors?
Natural stone — properly installed granite, bluestone, and slate — can last 50 to 100 years. Concrete pavers typically last 25 to 50 years. Gravel technically lasts indefinitely but requires periodic replenishment.
More Backyard and Garden Ideas
→ 12 Townhome Backyard Ideas For Summer
→ 13 Cozy Backyard Shed Ideas For Summer
→ 25 Stunning Back Porch Patio Ideas
→ 14 Coastal Patio Decor Ideas With Summer Vibes
Build the Foundation First
One paver patio. One flagstone path. One afternoon with a bag of gravel and some metal edging.
Any of those is enough to start. The backyard you have been ignoring for two summers does not need a full landscape renovation. It needs one hard surface done properly and everything placed on top of it.
Start with what you can do this weekend

Sheikh Hassaan is a digital architect for small businesses and the founder of The Glow Up System. He writes about home decor, garden design, and outdoor living for real American homes – practical ideas that work in actual spaces without oversized budgets.