
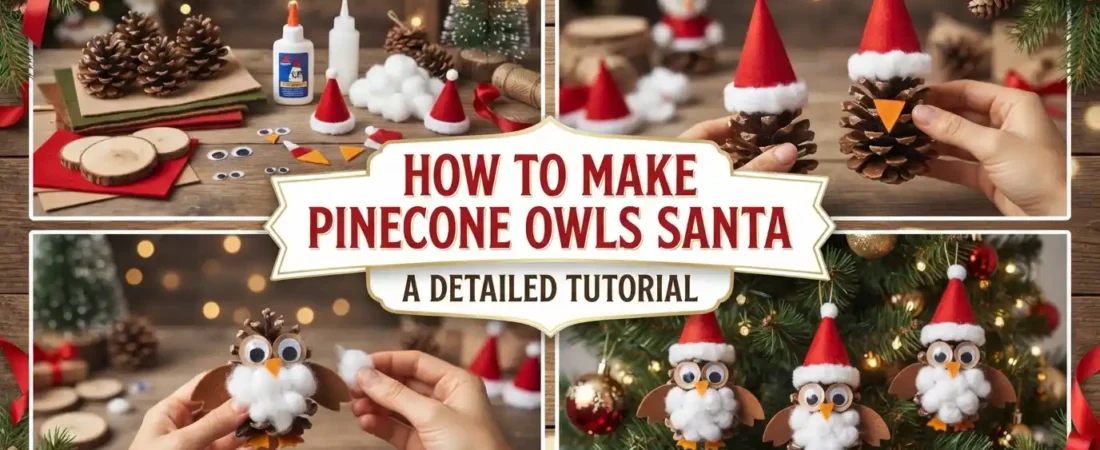
Pinecone owls dressed as Santa make charming, rustic Christmas decorations. There are two main ways to approach this craft: a more detailed, realistic version using paper-pulp eyes and a simpler, kid-friendly ornament version using basic craft supplies.
Table of Contents
Option 1: The Detailed, Rustic Pinecone Owl Santa (Advanced)
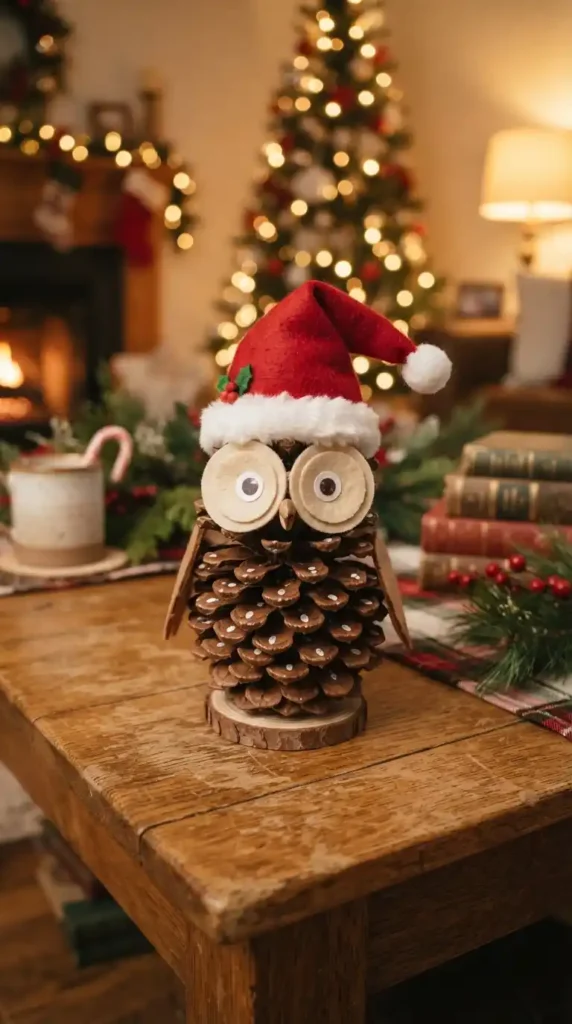
This method creates the warm, traditional pinecone owl Santas you might have saved on Pinterest. It involves making the distinctive, textured eye discs and focuses on a natural, feather-like appearance. This process is best for adults or older children.
What You’ll Need
Materials (For a flock of 6 owls):
- Round, egg-shaped pinecones (3 to 4 inches tall, with tight scales).
- Black cabochon safety eyes (14mm to 16mm) or glossy black beads.
- Cardboard egg cartons (paper-pulp type).
- White PVA glue (Elmer’s Glue-All).
- Acrylic craft paint (titanium white, burnt sienna, lamp black, yellow ochre).
- Yellow felt sheet.
- Mini plush Santa hats (3.5 to 5 inches tall).
Tools:
- Mini hot glue gun and sticks.
- Small wire cutters or flush cutters.
- Two matching deep spoons or small ladles (for molding eyes).
- An old toothbrush (for paint speckling).
Instructions
Step 1: Prepare the Pinecones
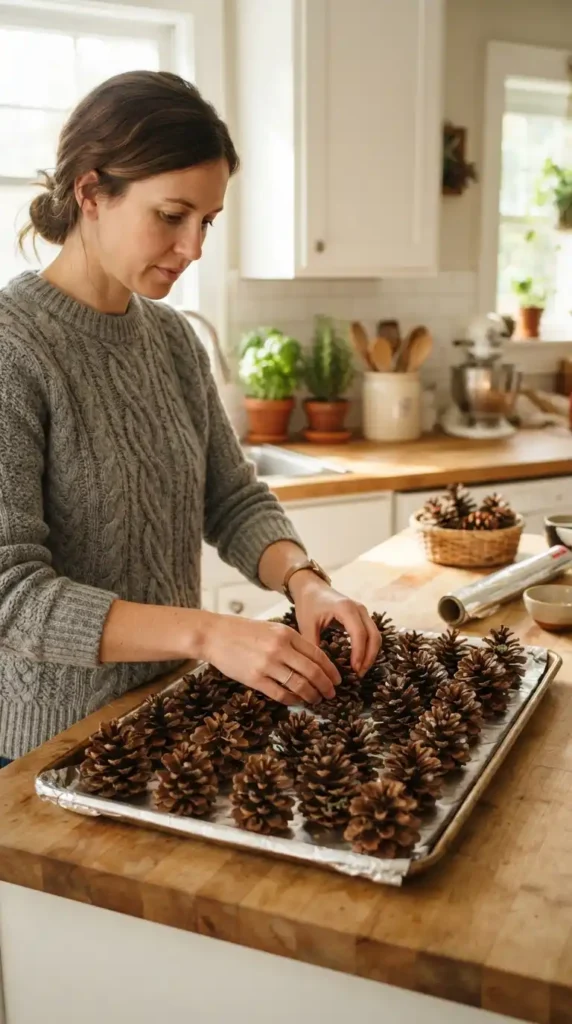
Select short, round pinecones that are about 3 to 4 inches tall and wide. Set the cone with the wide base down and the narrow tip up, which makes it stable and provides a good surface for the hat. Bake them at 200°F for 45 minutes on a foil-lined sheet to dry out sap and kill any insects.
Step 2: Make the Paper-Pulp Eye Cups
This is the most important step for achieving a realistic look.
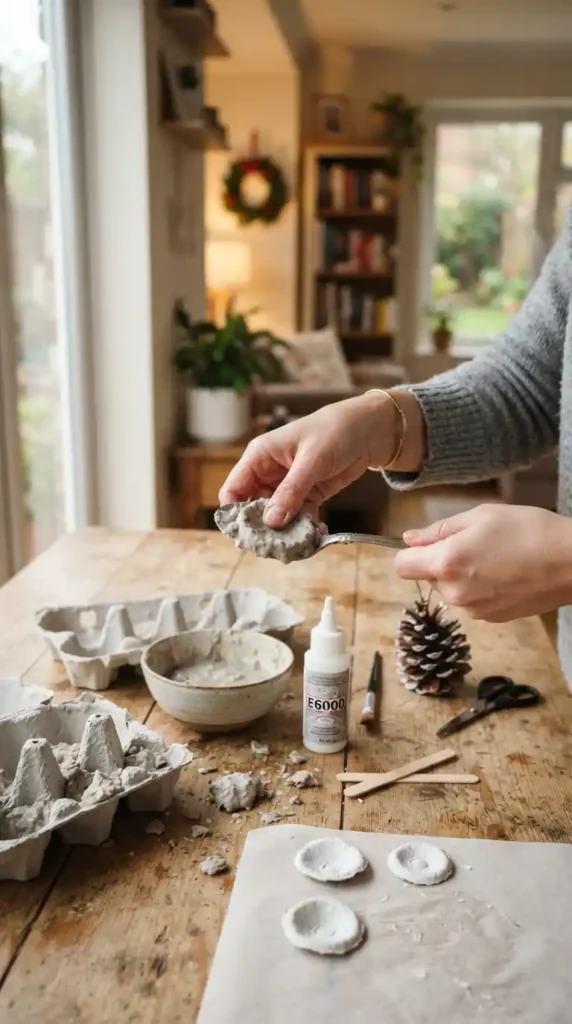
- Tear the paper egg cartons into small pieces and soak them in warm water for several hours or overnight.
- Mash by hand until it becomes a pulp. Squeeze out excess water and mix in PVA glue until it has a clay-like consistency.
- Press a thin layer of the pulp into each spoon, which has been lined with plastic wrap, creating a shallow, concave disc about 1 to 1.25 inches across.
- Let the discs dry partially in the spoons for 6-12 hours, then turn them out, trim the edges to form clean circles, and leave them to fully dry for another 24 to 48 hours.
Step 3: Paint and Assemble the Eyes
- Paint two thin coats of off-white or cream acrylic over each dry disc.
- Dip an old toothbrush in slightly thinned burnt sienna or umber paint, then flick the bristles toward the disc to create a speckled effect.
- Using wire cutters, snip the post off the safety eyes, leaving just the domed black cabochon.
- Glue the cabochon into the concave center of each painted disc with hot glue.
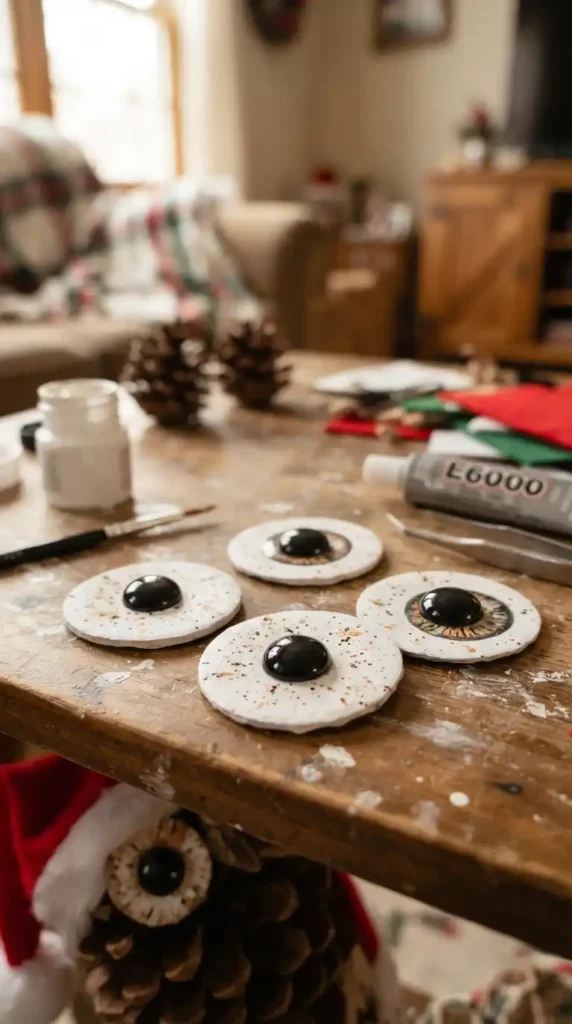
Step 4: Assemble the Owl
- Attach the eye assemblies to the pinecone with hot glue.
- Cut a small diamond shape from yellow felt, fold it in half, and glue it between the eyes to form the beak.
- Add the plush Santa hat on top of the cone’s narrow tip, securing it with hot glue.
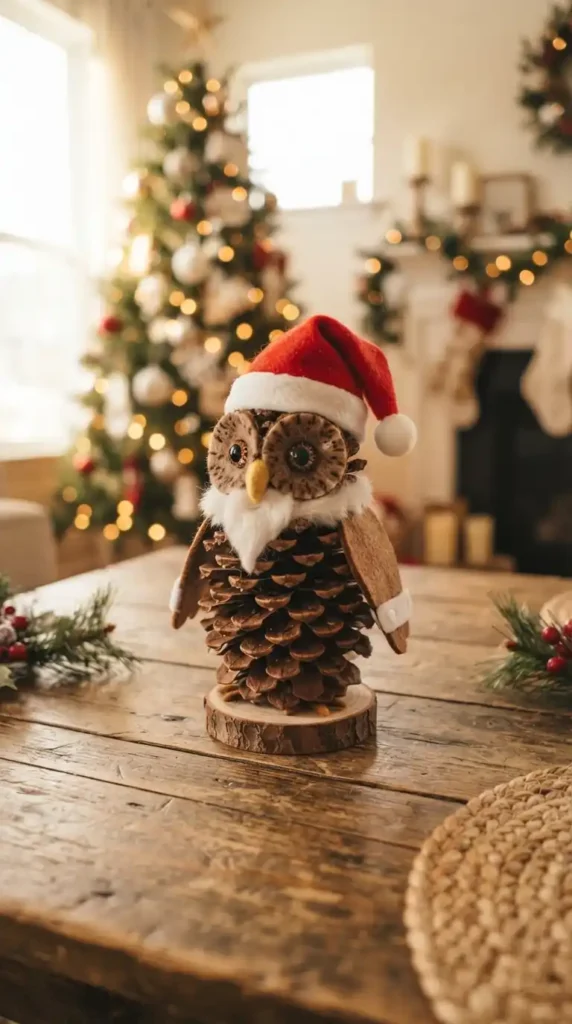
Option 2: The Simple Pinecone Santa Ornament (Kids-Friendly)
This is a great, low-mess craft for kids and beginners, focusing on using basic felt shapes and glue.
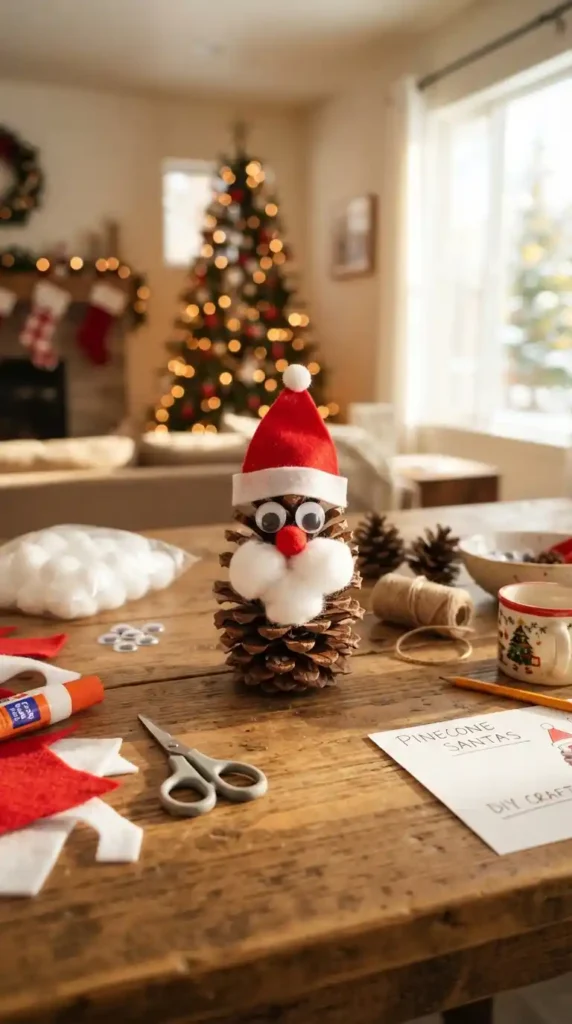
What You’ll Need
- Small to medium pinecones.
- Red felt.
- Small white pom-poms or cotton balls.
- Googly eyes.
- White yarn or cotton balls (for the beard).
- Craft glue or a hot glue gun.
- Scissors.
Instructions
Step 1: Prepare the Pinecone
Choose a pinecone that sits upright easily. If the base is uneven, you can glue a small cardboard circle underneath it.
Step 2: Add the Santa Hat
Cut a felt triangle, roll it into a cone shape, and glue the edge. Glue a white pom-pom to the tip. The hat can be slightly crooked for a more handmade look.
Step 3: Attach the Beard and Face
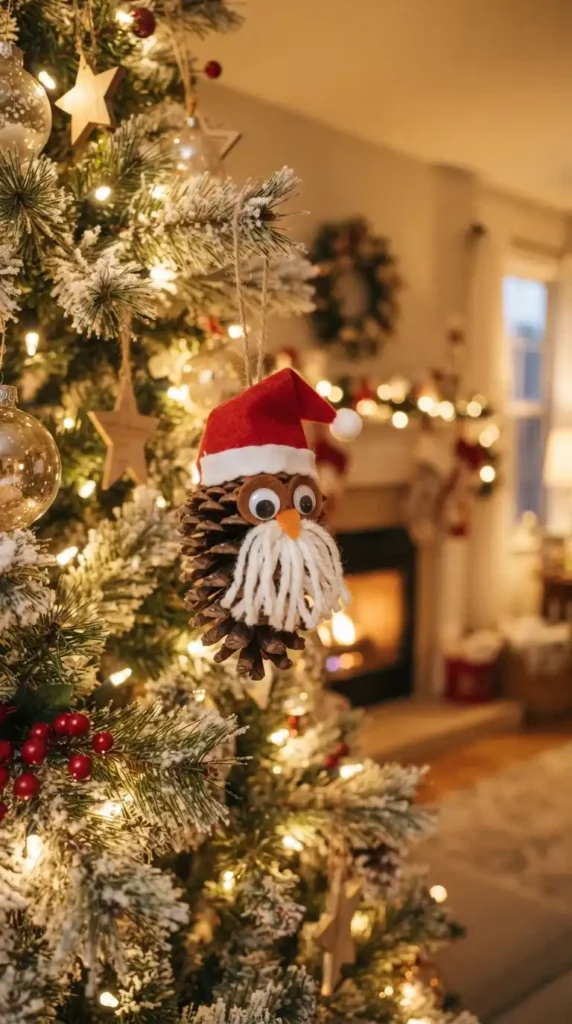
Glue two googly eyes near the top of the pinecone. Cut a piece of fluffy white yarn and gently pull apart the strands to make it fuller, then glue it under the eyes to form a beard. Alternatively, you can use a piece of cotton ball. A small red pom-pom can be added for a nose.
Step 4: Final Assembly
Glue the Santa hat on top of the pinecone. Add a thin line of white felt or cotton around the base of the hat for trim. Glue a loop of string to the back to turn it into a Christmas tree ornament.
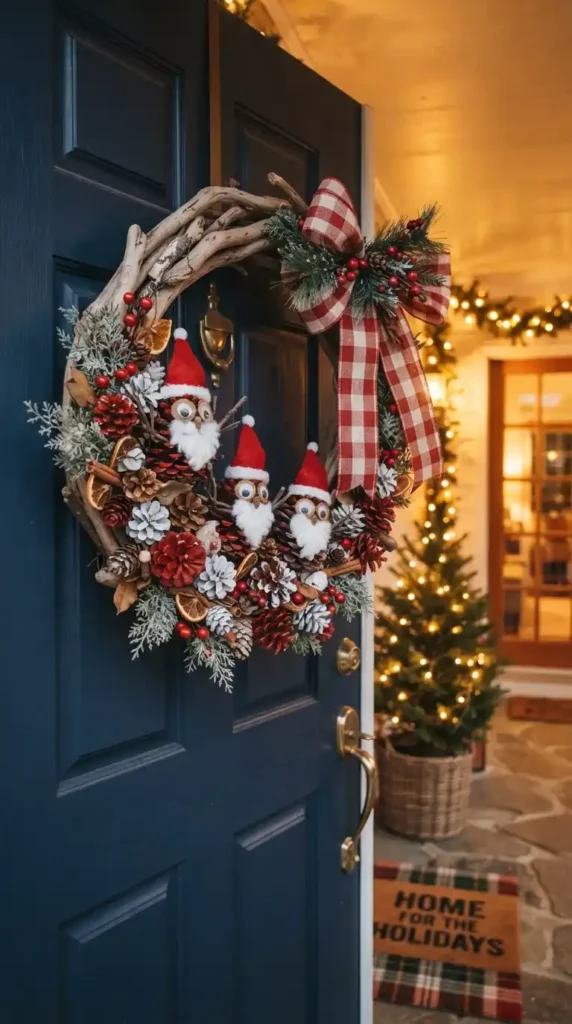
Optional: The Pinecone Owl Santa Wreath
For a more advanced project, you can create a display piece by gluing multiple Santa owls to a wreath base made from driftwood and painted pinecones. You will need:
- A wreath form or driftwood base.
- Multiple completed pinecone Santas (using the simple or advanced method).
- Hot glue to secure the Santas to the base.
You can paint some pinecones red and white to fill out the wreath and arrange the Santa owls to make it the centerpiece of your holiday decor.
Frequently Asked Questions About How to Make Pinecone Owls Santa
1. How do I prepare pinecones for crafting?
Bake pinecones at 200°F for 45 minutes on a foil-lined baking sheet to dry out sap and kill any insects. This also helps the scales open up slightly for a better look.
2. What type of pinecone works best?
Round, egg-shaped pinecones that are 3 to 4 inches tall work best. They should have tight scales and sit upright easily.
3. Can I use different materials for the eyes?
Yes, you can use large googly eyes for a simpler, kid-friendly version, or create paper-pulp eyes for a more realistic look.
4. How long does it take to make a pinecone owl Santa?
The simple version takes about 15-20 minutes. The advanced paper-pulp eye version requires drying time, so plan for 2-3 days to complete the project.
5. Can I turn these into ornaments?
Yes, simply glue a loop of string or a ribbon to the back of the pinecone to hang it on a Christmas tree.
Related Articles
How To Make Stunning Modern Geometric Christmas Tree Frames
How To Make a Pinecone Snowman for Christmas
How To Make a Mini Christmas Tree From Pipe Cleaners
How To Make Christmas Gnomes From Mesh Shower Sponges
Making pinecone owls Santa is a wonderful way to add rustic, handmade charm to your Christmas decorations. Whether you choose the detailed version or a simpler craft for kids, these adorable Santas will bring joy to your holiday season.

Sheikh Hassaan is a digital architect for small businesses and the founder of The Glow Up System. He writes about home decor, garden design, and outdoor living for real American homes – practical ideas that work in actual spaces without oversized budgets.