
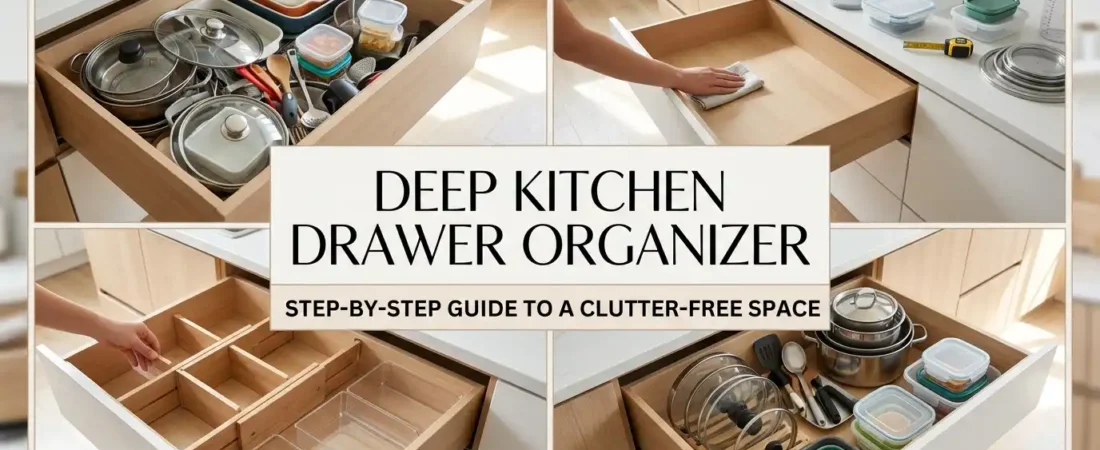
Deep kitchen drawers are a blessing and a curse. They are spacious and can fit large items like pots, pans, and bulky gadgets. But deep drawers can also become black holes where things get lost, pile up, and turn into a chaotic mess. The fix is simple: stop thinking of them as one giant catch-all zone and start dividing the space into smaller, functional compartments.
This guide walks you through organizing a deep kitchen drawer in five easy steps.
Table of Contents
Step 1: Empty the Drawer
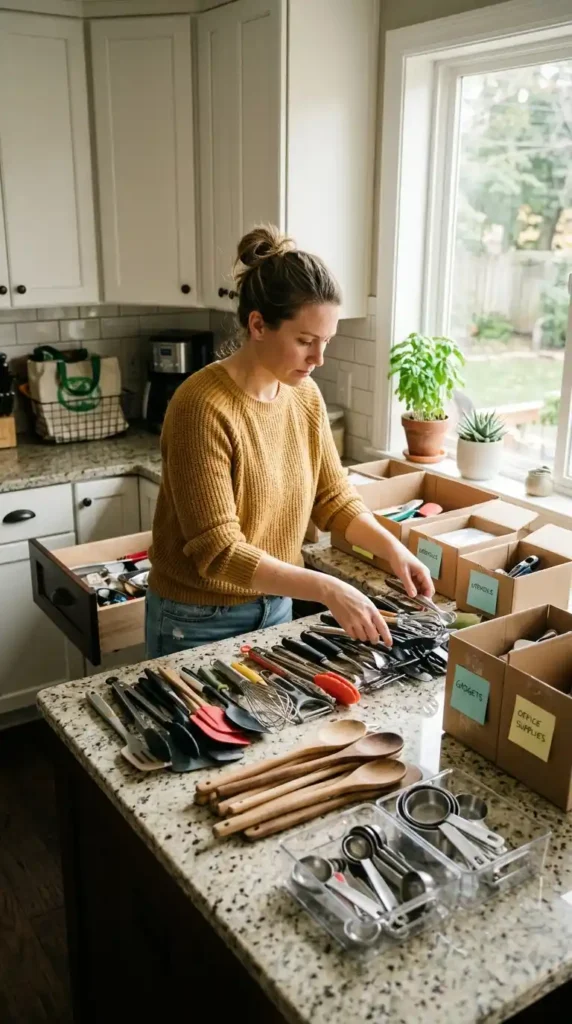
Take everything out of the drawer. Do not skip this step. Place all the items on a countertop or table where you can see them clearly. Physically handling each item forces you to make decisions about keeping, donating, or discarding.
Once the drawer is empty, take a moment to clean it. Wipe down the interior surfaces with a damp cloth and mild soap. Remove crumbs, dust, and any sticky residue. Let the drawer dry completely before moving to the next step.
Step 2: Sort Items
Now it is time to sort through everything you pulled out. Group similar items together. For example:
- All cooking utensils (spatulas, ladles, tongs)
- All baking tools (whisks, measuring cups, cookie cutters)
- All cutlery (knives, forks, spoons)
- All gadgets (peelers, zesters, garlic presses)
- All food storage items (wrap, foil, bags)
As you sort, decide what to keep, what to donate, and what to throw away. Get rid of anything you do not use, is broken, or is a duplicate. This is the hardest part, but it makes the biggest difference. If you have multiple spatulas, keep the two best ones and let go of the rest.
Step 3: Choose Organizers
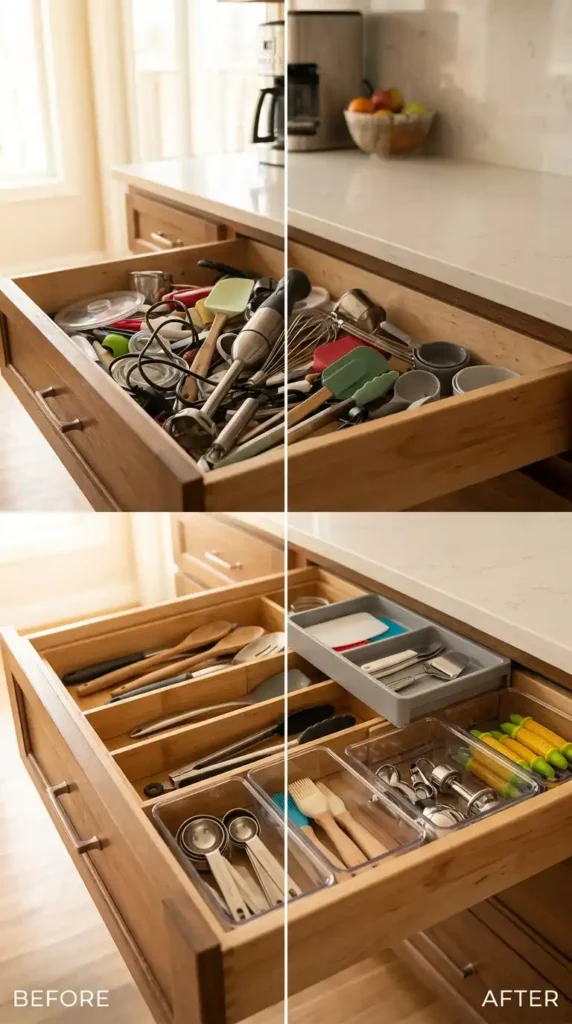
Once you know what you are keeping, it is time to choose the right organizers for your deep drawer. The key is to use dividers, bins, and inserts to create separate compartments.
Best Organizers for Deep Drawers
Adjustable Dividers: These are a must for deep drawers. They let you create custom-sized compartments for different items. You can place them anywhere to fit your specific needs.
Drawer Pegboard Systems: These feature adjustable screw-in pegs that hold items in place. They work great for storing pots, pans, and odd-shaped gadgets.
Pull-Out Trays: A shallow tray inside a deep drawer creates two tiers of storage. The top tray holds small items like spices or measuring spoons, while the bottom holds larger items.
Clear Bins: Use clear, labeled bins to group similar items together. This creates zones inside the drawer and makes it easy to find what you need.
Vertical Dividers: These stand items upright, making them easy to see and grab. They are perfect for cutting boards, baking sheets, and pan lids.
Budget Tip: You do not need to buy expensive organizers. Repurpose containers you already have. Old Tupperware, shoeboxes, and small baskets can work just as well.
Step 4: Create Zones
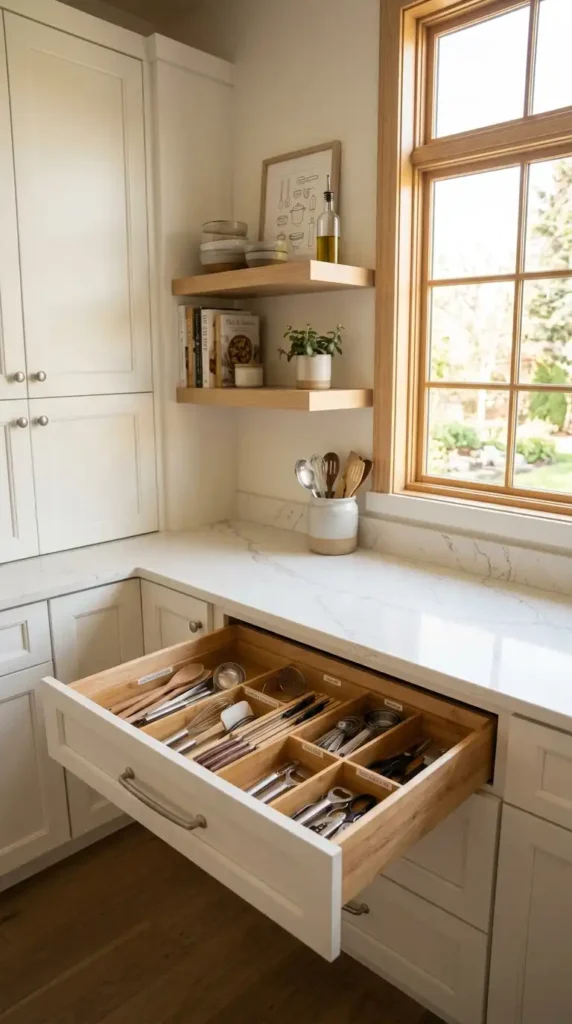
Now it is time to arrange everything in the drawer. Start by adding any non-slip liners to the bottom of the drawer to keep items from sliding around. Then, place your dividers and bins according to your plan.
Sample Zones for a Deep Kitchen Drawer
- Front Zone: Place frequently used items here. This is your prime real estate. Store everyday utensils like spatulas, tongs, and ladles.
- Middle Zone: Store items you use weekly. This could include baking tools, measuring cups, or gadgets.
- Back Zone: Store rarely used items here. Reserve the back for seasonal or specialty tools.
Group by Function
Organize by function to make cooking easier. The Cooking Zone can hold utensils and tools for stovetop cooking. The Baking Zone can hold measuring cups, whisks, and rolling pins. The Food Storage Zone can hold foil, wrap, and bags.
Pro Tip: If you have a drawer that is especially deep, consider adding a shallow roll-out tray on top. This creates two tiers of storage and makes it easy to reach small items without digging.
Step 5: Final Organized Drawer
The final step is to step back and enjoy your work. Your deep drawer should now be tidy, functional, and easy to use.
What You Should See
- Every item has a place. Nothing is floating around loose.
- Similar items are grouped. You can find what you need quickly.
- The drawer opens and closes smoothly. No items are blocking the way.
- Frequently used items are in front. You are not digging to the back every time you cook.
Maintaining Your Organized Drawer
To keep your drawer looking like this, follow these habits:
- Put things back. Return items to their designated spot after each use.
- Do not overstuff. If the drawer is full, it is time to declutter again.
- Label. Add simple labels to bins so you and your family know where things belong.
- Declutter regularly. Schedule a quick review every few months. Get rid of anything you no longer use.
Frequently Asked Questions
1. What is the best way to organize a deep kitchen drawer?
The best way is to use dividers, bins, and inserts to create separate compartments for different categories of items. Stop thinking of it as one giant space.
2. Are pegboard systems good for deep drawers?
Yes, pegboard systems are excellent for deep drawers. They keep large, heavy items like pots and pans from sliding around.
3. How do I organize a deep drawer on a budget?
Repurpose containers you already have. Old Tupperware, shoeboxes, and small baskets can work as drawer organizers.
4. How do I keep my organized deep drawer from getting messy again?
Return items to their designated spot after each use. Avoid overstuffing the drawer. Schedule a regular decluttering session every few months.
Related Articles
7 Beautiful Home Decor Ideas with Flowers
7 Bathroom Pendant Lighting Ideas You’ll Love
Upgrade Your Home with These 7 Black Pendant Lights
A well-organized deep drawer transforms your kitchen. With the right system, you will save time, reduce stress, and enjoy cooking more.

Sheikh Hassaan is a digital architect for small businesses and the founder of The Glow Up System. He writes about home decor, garden design, and outdoor living for real American homes – practical ideas that work in actual spaces without oversized budgets.