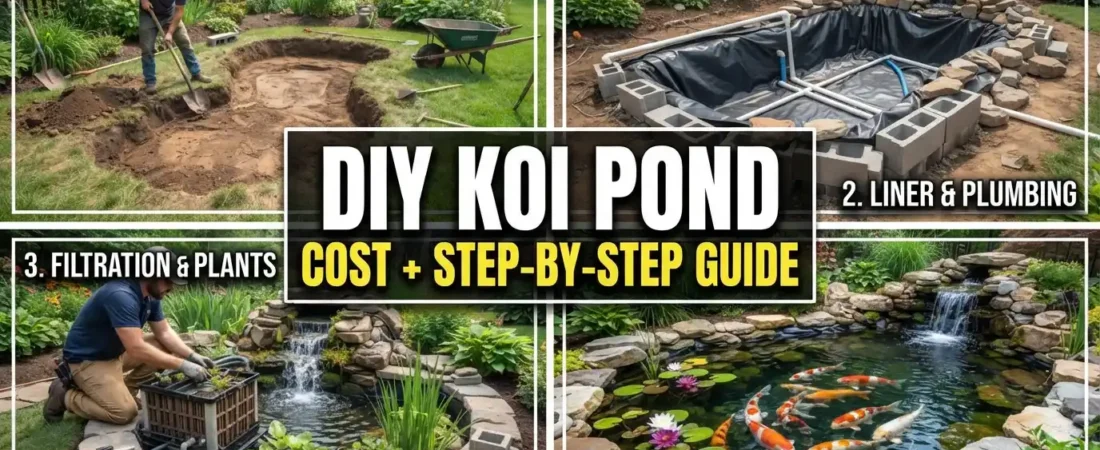
Building your own koi pond is one of the most satisfying DIY projects you can tackle. The sight of colorful koi gliding through crystal-clear water, the gentle sound of a waterfall, and the peaceful atmosphere create a tranquil retreat right outside your door. And the best part? You can build it yourself without hiring expensive contractors.
This complete beginner’s guide covers everything you need to know about building a DIY koi pond, from budgeting and design to step-by-step construction and introducing your fish. Whether you have a large backyard or a cozy patio, this guide will help you create a stunning pond that you built with your own hands.
Table of Contents
Why Build a DIY Koi Pond?
Building a koi pond yourself is not just about saving money. It is about creating something personal that reflects your style and vision. A DIY koi pond allows you to:
- Save thousands of dollars on professional installation
- Customize every aspect of the design to fit your space
- Learn valuable skills that you can use for future projects
- Take pride in knowing you built it with your own hands
- Maintain and repair it yourself with confidence
With the right guidance, any motivated homeowner can build a beautiful, functional koi pond.
What to Know Before You Start
The Commitment
A DIY koi pond is not a weekend project. It requires careful planning, physical labor, and a commitment to maintaining water quality. Before you start digging, consider:
- Time: Expect the project to take several weeks to a few months, depending on complexity
- Budget: Research costs for materials and equipment before starting
- Physical effort: Digging a pond is hard work. Consider renting equipment or hiring help
- Maintenance: Koi need regular feeding, water testing, and filter cleaning
Research and Planning
The first step in any DIY koi pond is thorough research. Visit local ponds, join online forums, and speak with experienced keepers. They can give you invaluable advice about costs, materials, and the implications of design decisions.
Also consider:
- Your limitations: Be realistic about the size, scale, and design of your pond
- Your goals: Decide if you want a simple water feature with a few fish or a serious koi collection
- Budget: Research the costs of materials and equipment. It is cheaper to build a pond properly the first time
Step 1: Plan Your Budget
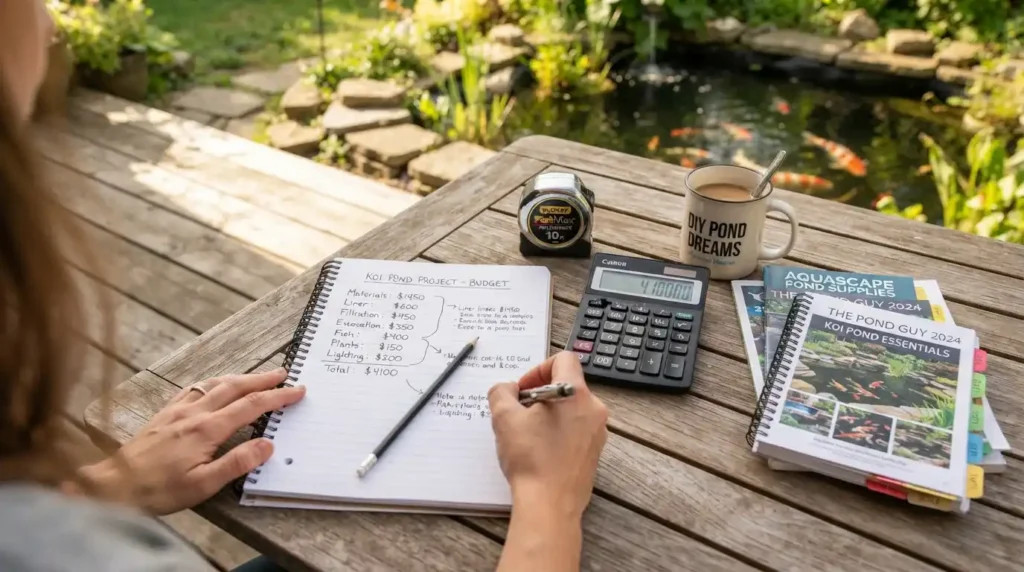
A DIY koi pond can cost anywhere from a few hundred to several thousand dollars, depending on size and materials. Here is a rough breakdown of costs for a typical 1,000-gallon pond:
| Item | Estimated Cost | Notes |
|---|---|---|
| Pond Liner (EPDM) | $100-$300 | 45-mil recommended |
| Underlayment | $50-$100 | Protects liner |
| Pond Pump | $100-$300 | Size depends on volume |
| Pond Filter | $200-$500 | Mechanical and biological |
| UV Clarifier | $100-$200 | Prevents green water |
| Bottom Drain | $50-$150 | Essential for waste removal |
| Skimmer | $100-$250 | Removes surface debris |
| Piping & Fittings | $50-$150 | PVC pipe recommended |
| Rocks & Gravel | $100-$300 | For edges and bottom |
| Plants | $50-$150 | Aquatic and marginal |
| Water Conditioner | $20-$40 | Removes chlorine |
| Test Kit | $20-$40 | For water quality monitoring |
| Total | $1,000-$3,000 | Depending on quality and size |
Tip: It is cheaper to build a pond properly the first time than to fix mistakes later.
Step 2: Choose the Perfect Location
Pond placement affects the difficulty of construction, future maintenance, and how much you will enjoy your pond. Consider these factors:
Size and Depth Requirements
Your chosen spot must accommodate a pond of at least 1,000 gallons, about 8 feet long, 6 feet wide, and 3 feet deep for keeping koi. The pond size depends on the size and quantity of the koi you plan to keep.
Depth: A minimum depth of 3 feet is recommended for koi. This protects them from predators and provides a stable water temperature year-round. In colder climates, a depth of 4 feet or more is beneficial to prevent the pond from freezing solid.
Sunlight
Choose a location that gets a mix of sun and shade. Koi need some sun, but too much can cause algae blooms. Aim for 4-6 hours of direct sunlight per day.
Proximity to Utilities
- Electricity: You need access to an electrical outlet for pumps and filters
- Water: A water source for filling and topping up the pond is essential
- Drainage: Ensure the area drains well away from the pond
Avoid Trees
Avoid building your pond under too many deciduous trees, as falling leaves can increase maintenance and create excess organic waste.
Check for Utilities
Call 811, the national call-before-you-dig number, to check for underground utility lines before digging. Also, check with your local municipality for any permitting requirements.
Step 3: Design Your DIY Koi Pond
Pond Shape
Keep your pond shape simple. Oval, kidney, round, pear shape, or rectangle are all good options. A simple shape allows water to flow freely, avoids dead spots where water cannot circulate, and makes pond liner installation tidier.
Avoid: Tight corners or complex shapes that are difficult to line and maintain.
Pond Size and Depth
“Go as big as you can afford and your outdoor space will allow. It is easier to keep a balanced ecosystem in a larger environment.”
- Minimum Size: 1,000 gallons for keeping koi
- Recommended Depth: 3 to 4 feet minimum
Design Features
- Tiered Depth: Create a shallow shelf around the perimeter for plants and a deeper central area for the koi
- Waterfall or Stream: Adds aeration and visual appeal
- Viewing Area: Consider a spot where you can sit and watch the fish
- Rock Edge: Use rocks of varying sizes to hide the liner and create a natural look
Step 4: Gather Your Materials and Equipment
Before you start digging, make sure you have all the necessary materials and equipment on hand.
Essential Materials
| Material | Description |
|---|---|
| Pond Liner | EPDM rubber liner (45-mil recommended), durable and fish-safe |
| Underlayment | Protects the liner from punctures |
| Pond Pump | Circulates water through the filter system |
| Pond Filter | Combines mechanical and biological filtration |
| UV Clarifier | Eliminates green water by killing algae |
| Pond Skimmer | Removes leaves and floating debris |
| Bottom Drain | Removes waste from the bottom of the pond |
| Piping & Fittings | Rigid PVC pipe recommended for durability |
| Water Conditioner | Removes chlorine and chloramine from tap water |
| Beneficial Bacteria | Helps establish the nitrogen cycle |
| Gravel | Smooth gravel at least 1 inch in diameter |
| Assorted Stones | For anchoring the liner and creating a natural edge |
| Pond Plants | Provide oxygen, shelter, and maintain balance |
Recommended Tools
- Shovel and spade
- Wheelbarrow
- Level
- Tape measure
- Utility knife
- PVC pipe cutter
- Drill
- Work gloves
- Knee pads
Step 5: Excavate the Pond Area
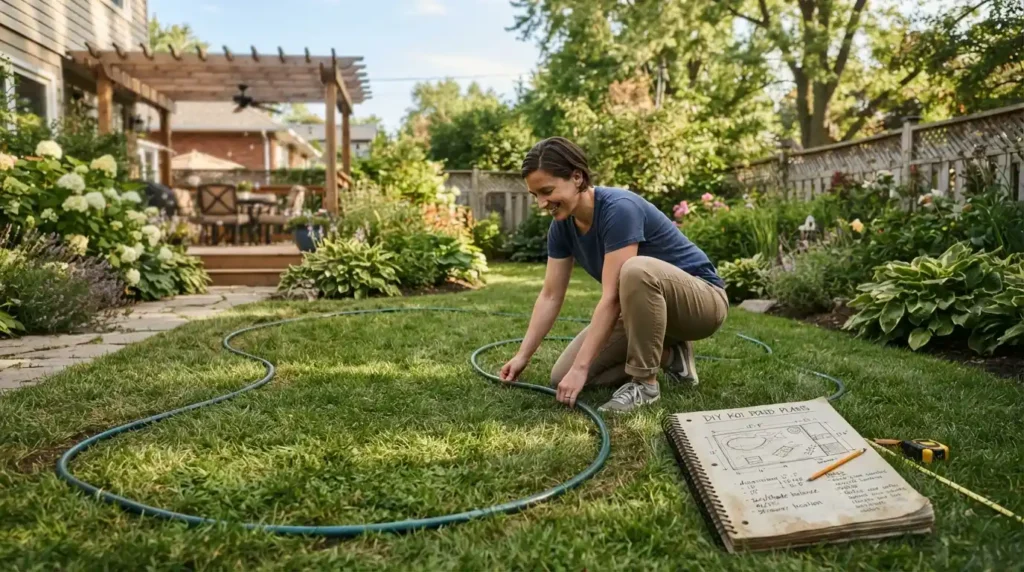
Mark the Outline
Using a heavy rope, garden hose, or spray paint, plot out the desired size and shape of your pond. If you are using a preformed pond liner, set it upside down on the ground and use the edge as a guide.
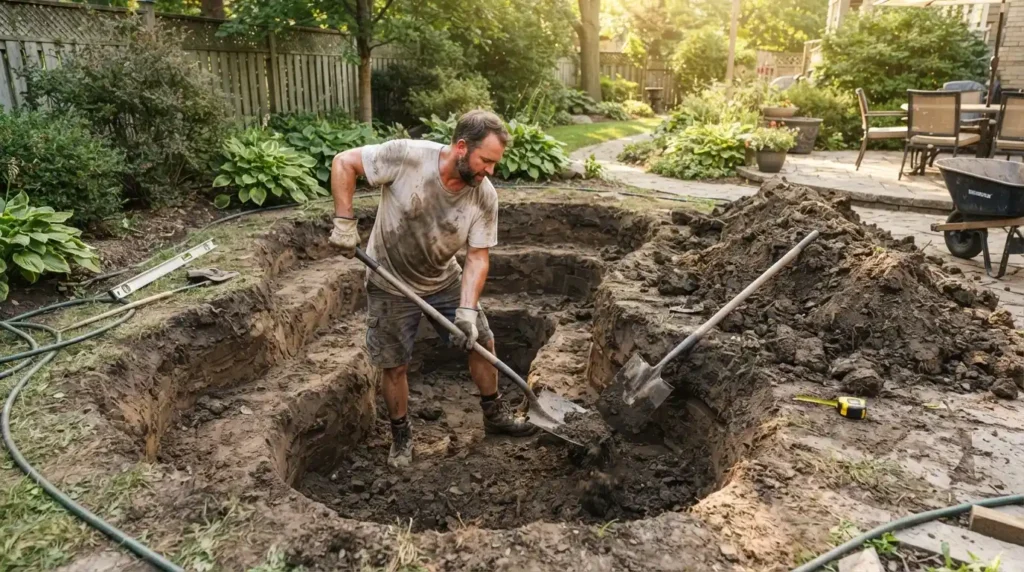
Dig the Pond
Start digging, following your design. Remove sharp stones or roots that might puncture the liner. A minimum depth of 3 feet is recommended.
Tip: If space is limited, digging the pond deeper helps ensure adequate water volume.
Create Planting Shelves
Dig a shallow shelf around the perimeter (about 12 inches deep and 12 inches wide) for pond plants. The deeper central area should be 3 to 4 feet deep for the koi.
Check Levelness
Make sure the bottom of the pond is as level as possible to ensure proper water distribution and liner placement.
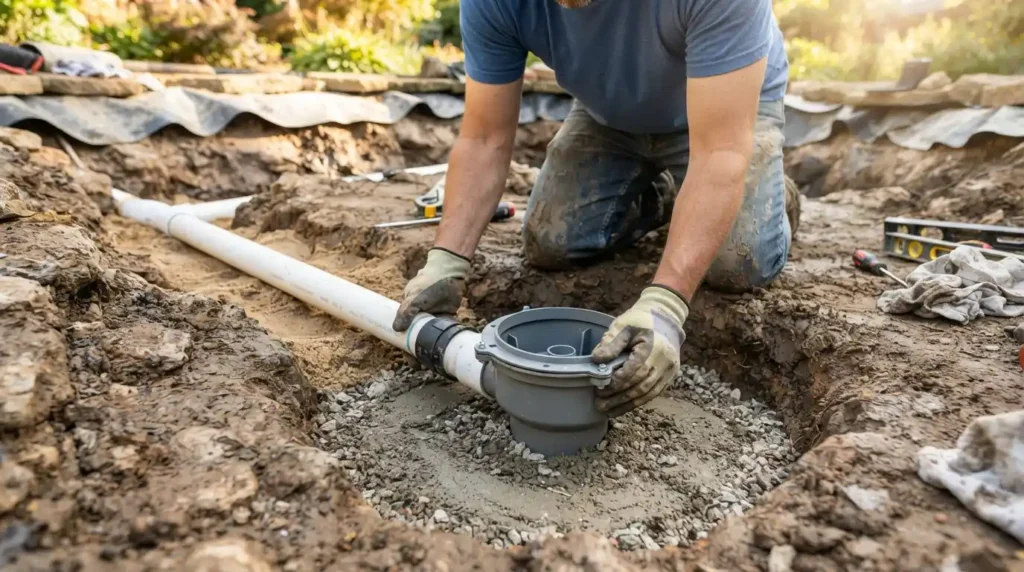
Step 6: Install the Bottom Drain
Plan the placement of essential equipment before you finish excavating. Some items, like pond skimmers and waterfall filters, may need to be installed before the liner is fully in place.
Install the Bottom Drain
- Mark the position of the bottom drain in the pond and cut out the necessary hole
- Place the drain attachment ring around the drain hole and mark for drilling holes
- Drill all the holes
- Apply silicone to the underside of the ring, position the drain, and screw the ring into the pre-drilled holes
- Lay out the piping from the bottom drain to the filter using PVC pipe and fittings
- Spread and compact a layer of fine river sand in the trench as a bed for the piping
Install the Skimmer
Follow the manufacturer’s instructions to install the pond skimmer and filter. You may need to trim a section of the pond liner later to affix it to the faceplate and create a watertight seal.
Step 7: Install the Underlayment and Pond Liner
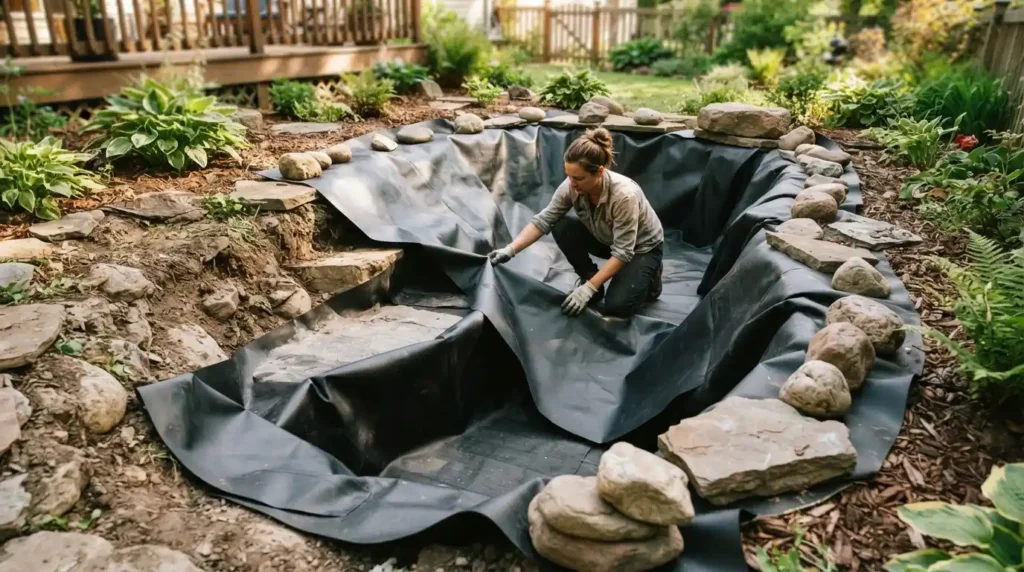
Lay the Underlayment
After removing all the dirt and leveling the excavated space, roll out the underlayment. Working from the inside of the pond out, press the underlayment into the bottom and sides.
Install the Liner
- Unfold the liner and center it over the pond
- Carefully position the liner over the underlayment, pressing it into the contours of the pond
- Allow the liner to settle and conform to the shape of the pond
- It is normal to have excess liner over the edges; you will trim it later
Anchor the Liner
Place large stones around the border of the pond to anchor the underlayment and liner in place. The liner should conform tightly to the shape of the pond.
Step 8: Add Gravel and Decorative Rock
Fill the Bottom With Gravel
Fill the bottom of the pond with at least 2 inches of smooth gravel. The gravel should be at least 1 inch in diameter with no sharp edges. This provides a surface for beneficial bacteria to colonize.
Add Decorative Rock
Add smaller stones around the border of your pond and to the interior to give it a finished look. Use rocks of varying sizes to create a natural-looking edge, helping to hide the liner.
Step 9: Add Plants
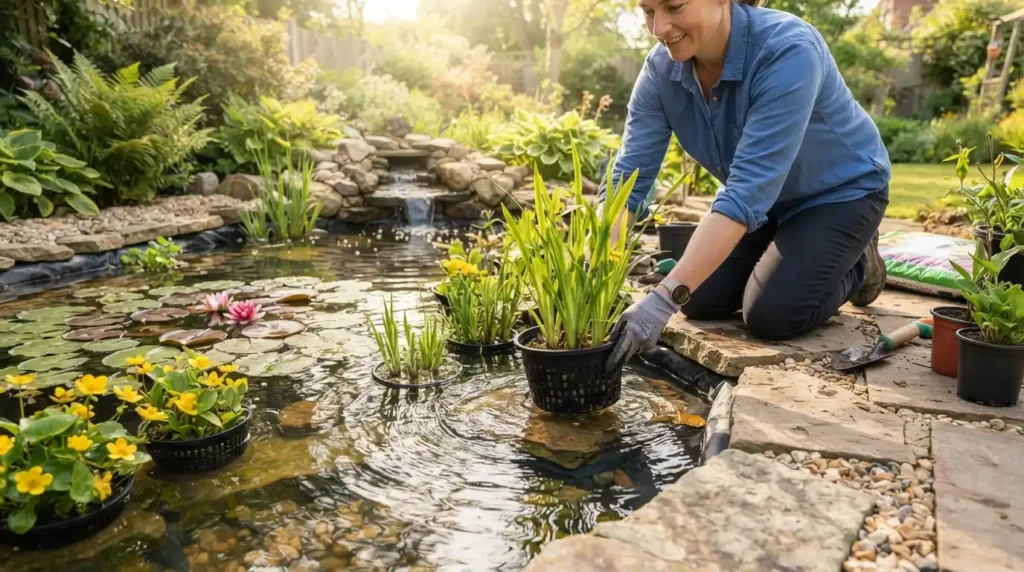
Choose Aquatic Plants
A diverse selection of aquatic plants helps maintain a balanced ecosystem and reduces strain on your filtration system.
Recommended Plants:
- Floating Plants: Water lilies, water hyacinth
- Submerged Plants: Anacharis, hornwort
- Marginal Plants: Iris, cattails, pickerelweed
- Oxygenating Plants: Cabomba, elodea
Plant Placement
- Plant floating plants on the surface
- Place marginals on the shallow shelves
- Put submerged plants in the deeper areas
Tip: Cover 40 to 60 percent of the water’s surface with plants to maintain a balanced ecosystem.
Step 10: Install Equipment
Set Up Your Pump and Filter
- Position the pump in the deepest part of the pond
- Connect the pump to the filter according to manufacturer instructions
- Connect the filter to the waterfall or return line
- Install the UV clarifier between the filter and the return
Install Pond Lighting
If desired, install pond lights according to manufacturer instructions. Position lights to illuminate the koi and water features for evening enjoyment.
Step 11: Fill the Pond and Add Water Treatments

Fill the Pond
Fill the pond with fresh water using a garden hose. Do not use straight tap water without treatment, as it contains chlorine or chloramine that are harmful to fish.
Add Water Conditioner
Using the dimensions of your pond, calculate the total water volume and add the appropriate dose of pond water conditioner to neutralize chlorine and chloramine.
Add Beneficial Bacteria
You may also choose to add a beneficial bacteria starter to help establish the biological filter. This helps accelerate the nitrogen cycle.
Step 12: Cycle the Pond Before Adding Koi
This is one of the most important steps in building a DIY koi pond.
Plug in your pond equipment and make sure everything is working properly. Give the pond several weeks to complete the nitrogen cycle, monitoring the progress using a pond water test kit.
What is the Nitrogen Cycle?
During the cycling process, beneficial bacteria establish themselves in the filter and convert harmful ammonia (from fish waste) into less toxic nitrites and then into nitrates. This creates a healthy environment for fish.
How to Monitor Cycling
- Test water parameters: Regularly test for ammonia, nitrite, nitrate, and pH
- Target levels:
- Ammonia: 0 ppm
- Nitrite: 0 ppm
- Nitrate: Below 50 ppm
- pH: 7.0 to 8.5
- Wait for the cycle to complete: Once the pond has fully cycled (ammonia and nitrite are zero), you can begin acclimating your koi
How to Speed Up the Cycle
- Use a beneficial bacteria product to jumpstart the process
- Add several small, hardy fish (like goldfish) to produce waste that feeds the bacteria
- Add filter media from an established pond to introduce bacteria
Step 13: Introduce Your Koi
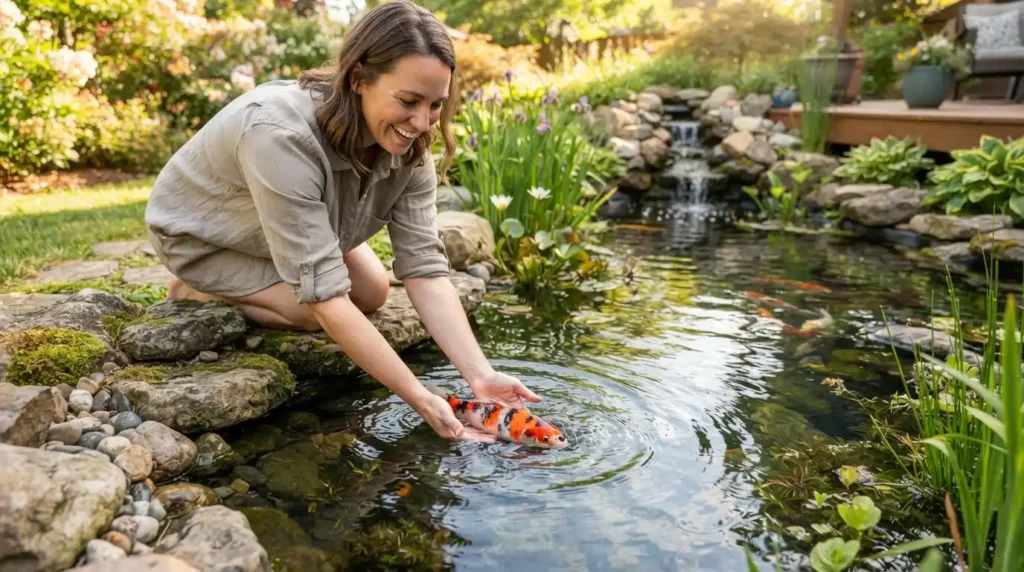
Acclimation
- Float the bag containing your koi in the pond for about 30 minutes to allow the water temperature to equalize
- Gradually add pond water to the bag in small amounts over 30-45 minutes
- Release the koi gently into their new home
Stocking Density
Avoid overcrowding. A good rule of thumb is 1 to 2 koi per 200 gallons of water. Understocking produces better water quality, healthier fish, and a more beautiful pond.
For a 1,000-gallon pond:
- Minimum: 4-5 small koi
- Maximum: 6-8 small koi
- Ideal: 3-4 koi for best water quality
Step 14: Ongoing Maintenance
Daily Tasks
- Feed koi once or twice daily (only what they can eat in 2-3 minutes)
- Check water temperature
- Observe fish for signs of stress or disease
Weekly Tasks
- Test water quality (ammonia, nitrite, nitrate, pH)
- Clean skimmer basket
- Remove fallen leaves from the surface
- Inspect equipment for proper operation
Monthly Tasks
- Clean or backwash filter as needed
- Check UV clarifier bulb (replace annually)
- Trim or remove dead plant material
- Perform a 10-15% water change
Common DIY Koi Pond Mistakes to Avoid
- Building too small: A pond that is too small for the koi you want to keep
- Inadequate depth: Less than 3 feet deep
- Poor filtration: Undersized or inadequate filter system
- Overstocking: Too many fish in too small a pond
- Skipping the cycling process: Adding fish to an uncycled pond
- Using the wrong liner: Choosing a liner that is not fish-safe
- Poor plumbing: Using fittings that leak or are not UV-resistant
Frequently Asked Questions About DIY Koi Ponds
1. Is building a koi pond difficult?
Building a koi pond is a significant but manageable DIY project for a motivated homeowner. It involves physical labor (digging), careful planning, and following proper installation techniques. With the right guidance, most people can build a beautiful, functional koi pond.
2. How much does a DIY koi pond cost?
A DIY koi pond costs between $1,000 and $3,000 for a basic 1,000-gallon pond, depending on the quality of materials and equipment. This is significantly less than professional installation, which can cost $5,000 to $15,000 or more.
3. What is the easiest type of koi pond to build?
The easiest type of koi pond to build is a preformed liner pond in a simple shape, or a raised pond using concrete blocks or timber. These require less complex excavation and liner installation. For a simple shape, a flexible EPDM liner is also easy to work with.
4. How long does it take to build a koi pond?
A DIY koi pond typically takes 2 to 6 weeks from start to finish, depending on the complexity of the design and how much time you can dedicate to the project. This includes excavation, installation, and cycling before adding fish.
5. Do I need a permit to build a koi pond?
Check with your local municipality regarding building permits and regulations for ponds. Some areas have requirements for fencing, depth, and proximity to property lines.
6. Can I convert an existing pond into a koi pond?
Yes, but you may need to deepen it to at least 3 feet and upgrade the filtration system to handle koi waste. A qualified pond professional can help you assess your existing pond’s suitability.
7. What is the best liner for a DIY koi pond?
EPDM (rubber) liner is the best choice for a DIY koi pond. It is durable, flexible, fish-safe, easy to work with, and can be custom-fit to any shape. Choose a 45-mil thickness for durability.
Related Articles
How to Build a Koi Pond: A Step-by-Step Guide for Beginners
10 Koi Pond Design Ideas for Small Gardens
15 Jaw-Dropping Koi Pond Ideas You’ll Love
The Ultimate Koi Pond Guide: Design, Building, Filtration & Maintenance
A DIY koi pond is more than a weekend project—it is an investment in tranquility, beauty, and the joy of watching nature thrive. With careful planning and patience, you can create a stunning backyard oasis that you built with your own hands.