
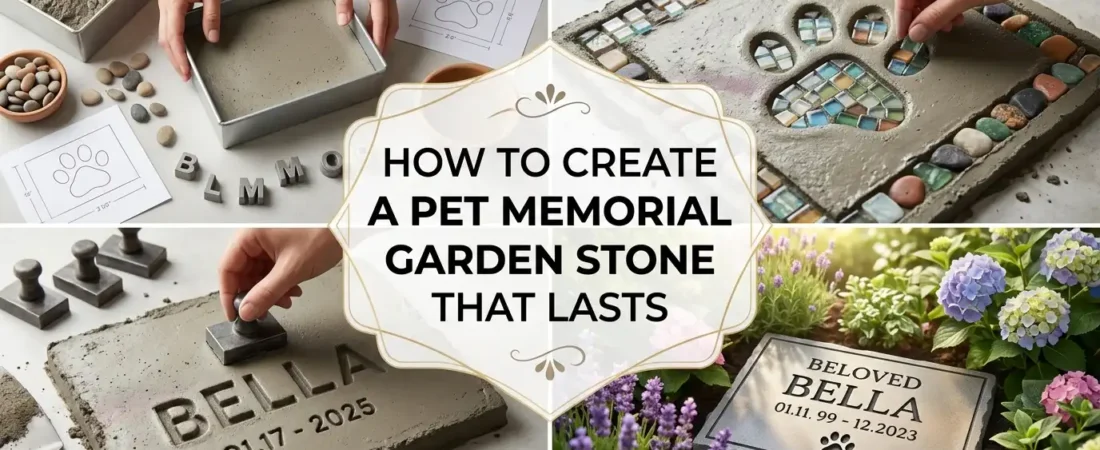
When a beloved pet passes, finding a way to honor their memory can bring comfort during a difficult time. A handmade pet memorial garden stone is a lasting tribute that you can craft with your own hands, pouring love and intention into every step. Unlike store-bought markers, a DIY stone carries the energy and time you invest, making it a deeply personal memorial.
This guide walks you through creating a durable garden stone that will withstand weather and time, from choosing materials to sealing the finished piece.
Table of Contents
What You’ll Need
Before you begin, gather all your supplies. Having everything ready makes the process smoother, especially since concrete waits for no one once it starts to set.
Materials
- Concrete mix: Choose a sand or topping mix for a smoother face that’s easier to letter. Avoid mixes with large stones if you want a smooth finish.
- Mold: You can buy stepping stone molds from craft stores, use sturdy plastic containers, or build a simple wooden frame. For a professional look, concrete stepping stone molds are widely available and often come with letter stamps.
- Mold release: Cooking spray, petroleum jelly, or paste wax helps the stone lift cleanly.
- Water: For mixing.
- Mixing tub and stir tool: A bucket and a trowel, small shovel, or mixing paddle.
- Wire mesh or fiberglass mesh tape: Helps prevent cracking in thinner stones.
- Gloves and eye protection: Wet cement can irritate skin and eyes.
- Letter stamps or tools for engraving: Alphabet stamps or a rotary tool (like a Dremel) with engraving bits.
- Exterior concrete sealer: Penetrating silane/siloxane for a natural look, or acrylic for a sheen.
Optional Decorative Items
- Pet paw print mold or casting
- Marbles, sea glass, smooth pebbles
- Pet tags or small toys (ensure they are durable and weatherproof)
Step 1: Choose Your Stone and Design
Start by deciding on the size, shape, and design of your memorial stone. The size will depend on where you plan to place it. Smaller stones work well indoors, while larger ones make beautiful garden tributes.
Design Considerations
- Shape: Round, square, heart-shaped, or bone-shaped molds are common choices.
- Size: For a garden stone, aim for at least 1.5 to 2 inches thick to ensure durability.
- Message: Think about what you would like the stone to say. Most people choose their pet’s name, dates, and a short phrase like “Forever in our hearts.”
- Images: Include a paw print, heart, or a simple image that reminds you of your pet. You can also embed a clean pet tag or small memento.
Sketch a quick draft on paper to see how the layout will look before you start.
Step 2: Prepare the Mold and Mix the Concrete
Set up your workspace on a flat, level surface where the stone can sit undisturbed for 24-48 hours. Cover the area with newspaper or plastic sheeting for easy cleanup.
Prepare the Mold
Thoroughly clean your chosen mold. Apply a thin, even layer of mold release (cooking spray or petroleum jelly) to the entire inside surface. This step is crucial for getting your stone out cleanly later.
Mix the Concrete
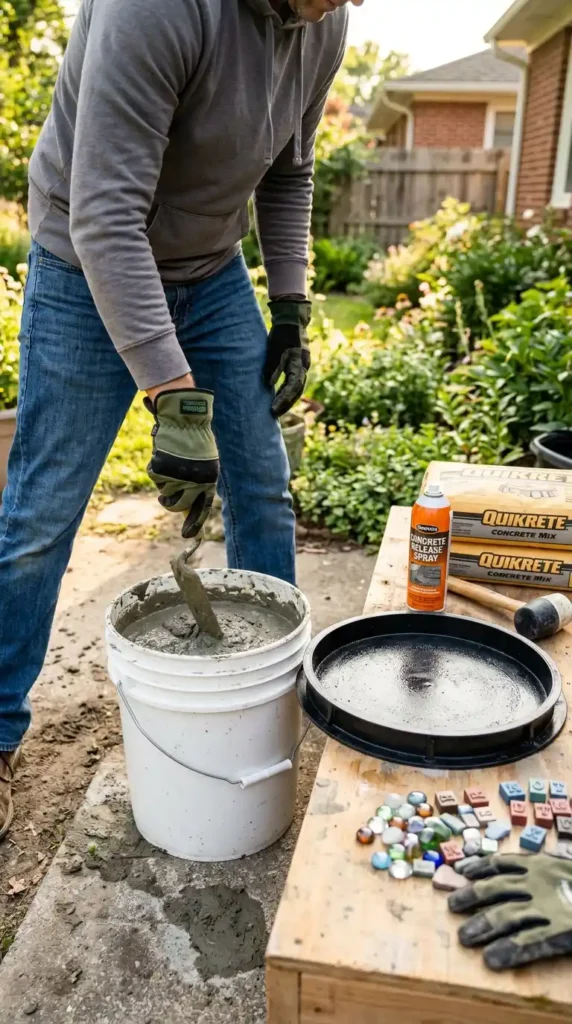
Put on your gloves and safety glasses. Pour the dry concrete mix into your mixing bucket and gradually add water according to the package directions. Start with a little less water than recommended; you can always add more but you cannot easily take it out. Mix thoroughly, scraping the bottom and sides of the bucket. Aim for a consistency like thick brownie batter or peanut butter, firm enough to hold its shape but wet enough to settle into the mold smoothly. Overly wet concrete will be weaker and take longer to cure.
Safety First: Always wear protective gloves and eyewear when mixing and handling wet concrete. It is caustic and can cause skin irritation or chemical burns if prolonged contact occurs.
Step 3: Pour, Decorate, and Inscribe
Pour the Concrete
Carefully pour or scoop the mixed concrete into your prepared mold. Fill it to the desired thickness, usually at least 1.5 to 2 inches for a sturdy stepping stone. Gently tap the sides of the mold or lift and tap the entire mold on your work surface for a minute or two. This helps release trapped air bubbles that can create weak spots.
Decorate and Personalize
This is the most crucial timing step. You need to wait for the concrete to set slightly, enough so decorations won’t sink to the bottom, but still wet enough to embed properly. This sweet spot can vary but often falls between 30 minutes to 2 hours after pouring.
How to test: Gently press a finger onto the surface (wear your glove). It should leave an indent but not feel completely liquid.
Now is the time to:
- Add Paw Prints: If you have a cast of your pet’s paw, press it into the surface and carefully lift it out. Alternatively, you can freehand sculpt a paw shape.
- Embed Objects: Gently press marbles, glass tiles, or pet tags into the surface. Ensure they are pushed in deep enough to be held securely.
- Inscribe Names and Dates: Use letter stamps, a stick, or a rotary tool to write your pet’s name, dates, and a short message. Smooth out any rough edges around the lettering gently.
Work relatively quickly once you start decorating, as the concrete continues to set. Do not disturb the decorations once placed.
Step 4: Cure the Stone
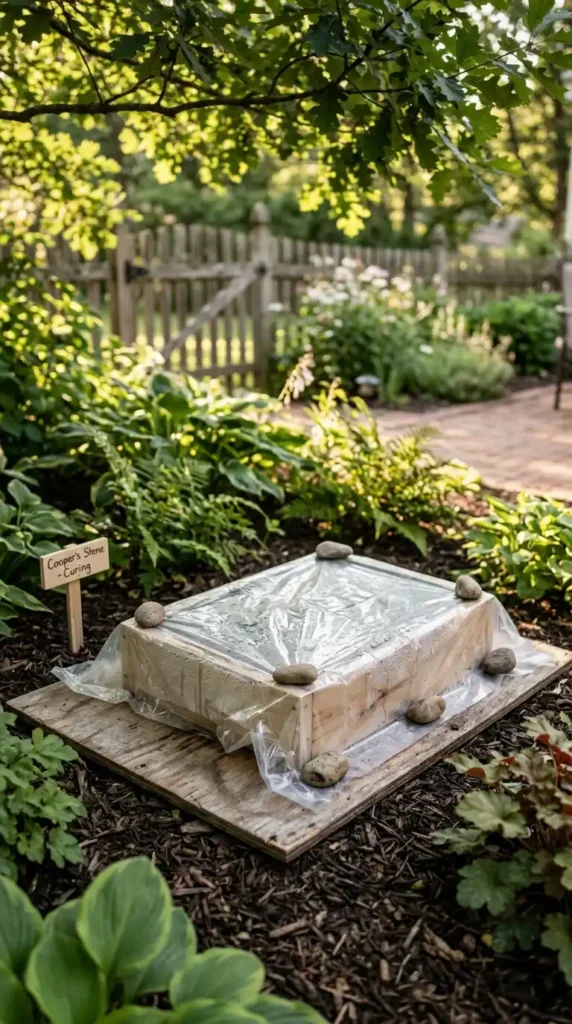
Now, the waiting begins. Cover the mold loosely with plastic sheeting (this helps it cure more slowly and strongly) and leave it undisturbed in a shady, protected spot. Concrete does not just dry; it undergoes a chemical reaction called curing. The Federal Highway Administration notes that curing lengths commonly run from 3 to 7 days for many cement types.
- Initial Set: Most stones need at least 24-48 hours before you can safely demold them.
- Full Cure: Full strength is typically reached after several days to weeks (check your concrete mix instructions, usually around 28 days for maximum strength). Resist the temptation to move it too soon.
Step 5: Demold and Seal the Stone
After the initial setting time (usually 1-2 days), carefully turn the mold upside down onto a soft surface like grass or cardboard. The stone should slide out relatively easily if you used mold release. If it resists, wait another day.
Demolding
Gently tap the back of the mold if needed. Once demolded, let the stone continue curing for at least another few days (or ideally, weeks) before placing it in the garden or applying sealant.
Apply Sealer
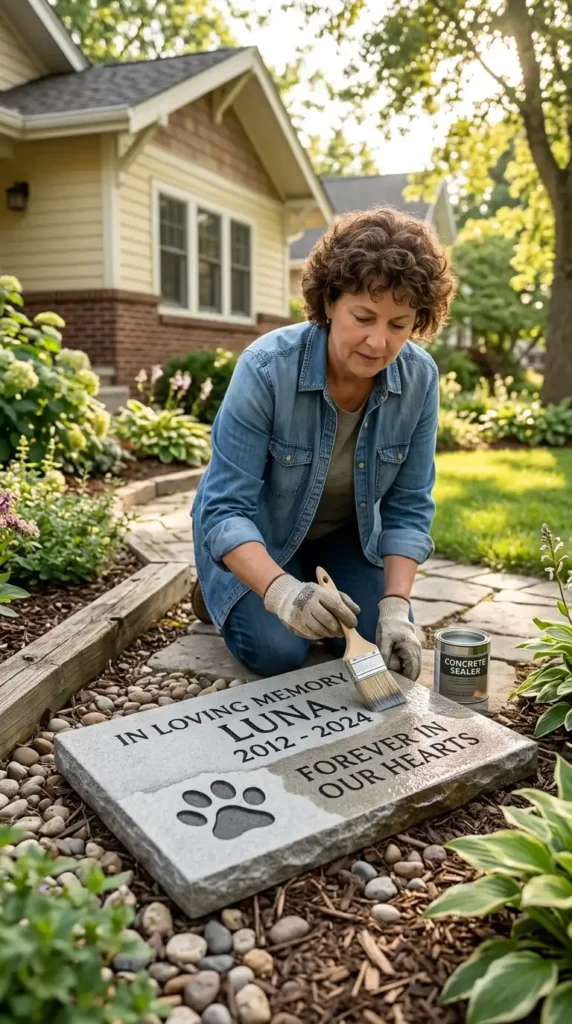
Sealer helps block water and stains and makes the text easier to keep clean. Apply it only after the stone has cured and dried completely.
Sealer Types:
- Penetrating Silane/Siloxane: Matte finish, good water resistance without shine.
- Acrylic: Light sheen to glossy, good for making colors stand out.
- Polyurethane: Hard, clear coat, good for stones that get stepped on.
Application Tips:
- Use thin coats with a brush or roller.
- Let the first coat dry, then add a second.
- Thick coats can stay tacky and collect dust.
- Cloudiness often means moisture under the coat, so make sure the stone is fully dry before sealing.
Common Mistakes to Avoid
- Skipping the mold release: Without it, the stone may break when you try to remove it from the mold.
- Adding too much water: Overly wet concrete is weaker and prone to cracking. Aim for a thick brownie batter consistency.
- Decorating too early or too late: If you add decorations when the concrete is too wet, they will sink. If you wait too long, they will not embed properly. Test the surface before decorating.
- Rushing the curing process: Concrete needs time to gain strength. Demolding too early can cause crumbling, and sealing before the stone is fully dry can trap moisture.
- Skipping the sealer: Without a protective sealant, water can penetrate the stone, leading to cracks and fading from freeze-thaw cycles.
Maintenance Tips
- Clean gently: Use water and a soft brush to remove dirt. Avoid harsh chemicals that can damage the sealer.
- Reseal as needed: Depending on the climate, reseal the stone every 1-2 years to maintain protection.
- Protect from extreme conditions: If possible, move the stone indoors during harsh winters or extreme weather to extend its life.
Frequently Asked Questions
1. How long do outdoor pet memorial stones last?
Quality resin memorial stones typically last 5-8 years outdoors. Granite, natural stone, and properly sealed concrete markers can last decades or a lifetime with minimal maintenance.
2. What is the best material for a DIY pet memorial stone?
Concrete is the most accessible and affordable option for DIY projects. For a smoother surface, choose a “sand” or “topping” concrete mix. Adding wire mesh helps prevent cracking.
3. Can I include my pet’s photo in the stone?
You can embed a laminated photograph in the concrete. Press it into the wet surface during the decorating step, ensuring it sits flush with the surface.
4. What should I engrave on a pet memorial stone?
Most custom stones include the pet’s name, dates, and a short message. Common choices include the pet’s name and years, a paw print or portrait, a short quote like “Forever in my heart,” or simply “Beloved [dog/cat].”
5. Where should I place the finished stone?
Choose a spot that has meaning, where your pet loved to sit, play, or rest. A quiet corner with plants around it creates a natural garden memorial. If you are marking a burial site, place the stone directly above or just in front.
A Lasting Tribute
A DIY pet memorial stone is more than a craft project. It is an act of love and remembrance. Every time you see that stone nestled in your garden, you will be reminded not just of your pet, but of the care and personal touch you put into creating their special marker. Whether you choose a simple engraved stone or a hand-painted tribute, what matters most is the love behind it.
Related Articles
7 Outdoor Dog House Heaters to Keep Your Dog Warm
7 Wood Dog Kennel Furniture Picks for Every Home
Non-Toxic Plants for Dogs: A Pet-Safe Indoor Garden Guide
A handmade memorial stone is a lasting tribute to the love you shared with your pet. With care and patience, you can create something beautiful that will honor their memory for years to come.

Sheikh Hassaan is a digital architect for small businesses and the founder of The Glow Up System. He writes about home decor, garden design, and outdoor living for real American homes – practical ideas that work in actual spaces without oversized budgets.