
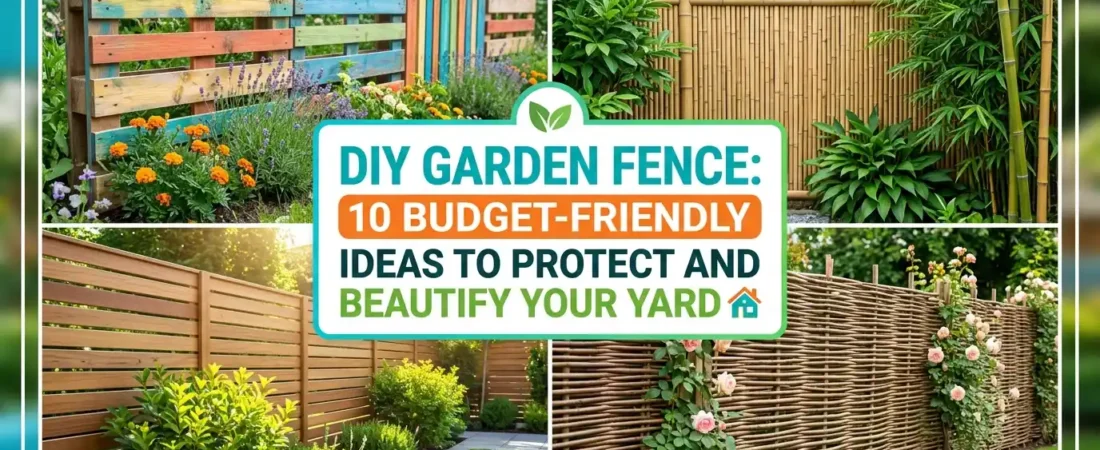
A garden fence does more than just mark a boundary. It keeps rabbits out of your vegetables, defines your outdoor space, and adds charm to your backyard. But hiring a professional can cost thousands. The good news is you can build a beautiful, functional garden fence yourself with a little creativity and some basic tools.
This guide covers ten easy DIY garden fence ideas, from free pallet fences to elegant bamboo screens and durable no-dig options. Every suggestion includes materials, step-by-step instructions, and cost-saving tips so you can choose the perfect fence for your space and budget.
Table of Contents
What to Consider Before Building Your DIY Garden Fence
Before you start digging holes, take a few minutes to plan. Getting the basics right saves you time, money, and frustration.
First, check local regulations. Many towns have rules about fence height, placement, and materials. Some HOAs have even stricter guidelines. A quick call to your local building department can save you from having to tear down your hard work later.
Next, measure your space. Walk the perimeter of your garden and measure the total length. Add a few extra feet for mistakes. Knowing your exact footage helps you buy the right amount of materials without waste.
Also, consider what you need the fence to do. Are you keeping out rabbits and deer? Marking a boundary? Creating privacy? Your primary goal determines the best materials. For example, chicken wire keeps out small critters but does little for privacy . Solid wood panels provide privacy but cost more.
Finally, think about your budget. Many DIY fence ideas cost under $100 for a small garden . Pallets and reclaimed wood can be free, while bamboo and lattice panels cost a bit more.
1. Pallet Fence: The Ultimate Budget Build
✦ Best for: Vegetable gardens, small backyards, and anyone wanting a rustic, farmhouse look without spending much
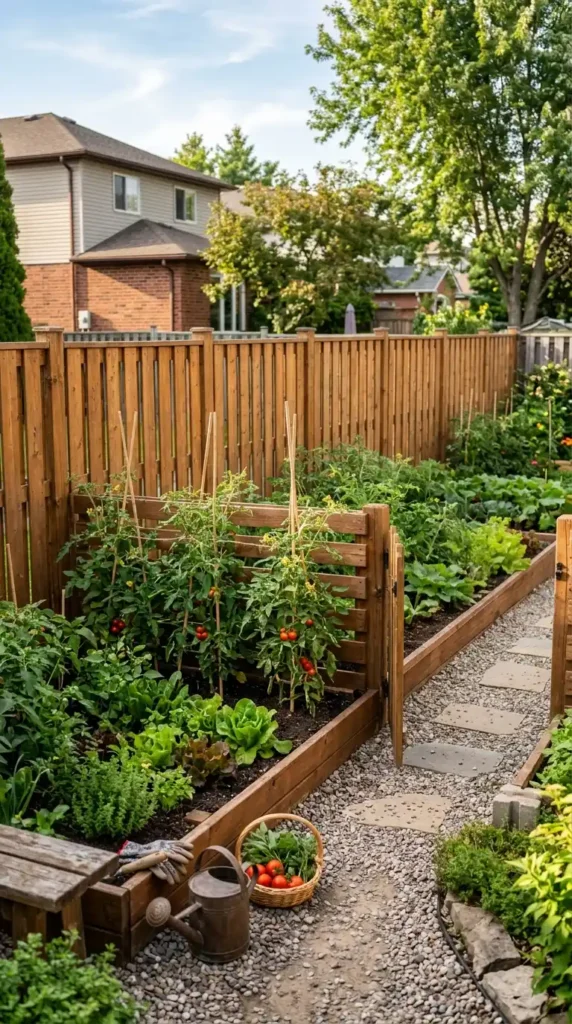
Pallets are the go-to material for budget DIY projects. You can often find them for free behind grocery stores, warehouses, or on online marketplaces . They are sturdy, give off a rustic farmhouse vibe, and can be painted or stained to match your style .
Materials Needed:
- Wooden pallets (look for HT stamp, meaning heat-treated, not chemically treated)
- Wooden stakes or T-posts
- Screws or heavy-duty zip ties
- Saw (if you need to cut pallets)
- Optional: paint or wood stain
Step-by-Step Instructions:
- Source pallets labeled HT (heat-treated) to avoid harmful chemicals
- Sand rough edges thoroughly for a polished finish
- Drive wooden stakes or T-posts into the ground every 6 to 8 feet along your fence line
- Stand pallets upright and screw or zip-tie them securely to the posts
- Connect adjacent pallets at the top, middle, and bottom with wire or screws
- Paint or stain for weather protection and a more polished look
Tips for Beginners:
- Inspect pallets carefully and avoid any that smell chemical-like
- Untreated pallet wood weathers quickly, so sealing extends its lifespan significantly
2. Bamboo Fence: Lightweight and Tropical
✦ Best for: Creating a stylish, eco-friendly boundary with a natural feel
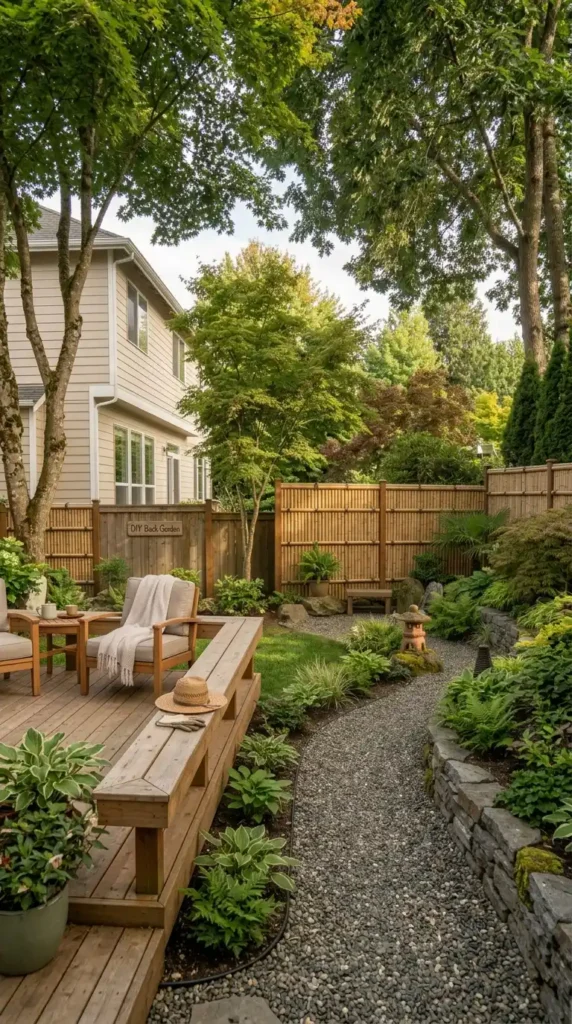
Bamboo adds an instant tropical feel and is very renewable. You can buy rolls of bamboo fencing fairly cheaply, or use individual poles for a more custom look . It is lightweight, so you do not need massive supports to hold it up .
Materials Needed:
- Bamboo poles or bamboo roll fencing
- Wooden stakes or metal posts
- Jute twine, zip ties, or wire
- Scissors or garden shears
Step-by-Step Instructions:
- Install support posts every 6 feet along your fence line
- If using roll fencing, unroll it along the posts and zip-tie or wire it securely
- If using individual poles, lash them vertically to horizontal support rails with jute twine in a crisscross pattern
- Trim excess bamboo neatly at the ends
- Optional: Seal with clear varnish for longer life
Tips for Beginners:
- Bamboo fencing rolls are easy to handle and don’t require cutting individual poles
- Keep the bottom of poles slightly elevated off the soil to prevent rot
3. Chicken Wire and Wood Posts: Classic and Functional
✦ Best for: Keeping rabbits, chickens, and other small animals out of vegetable gardens
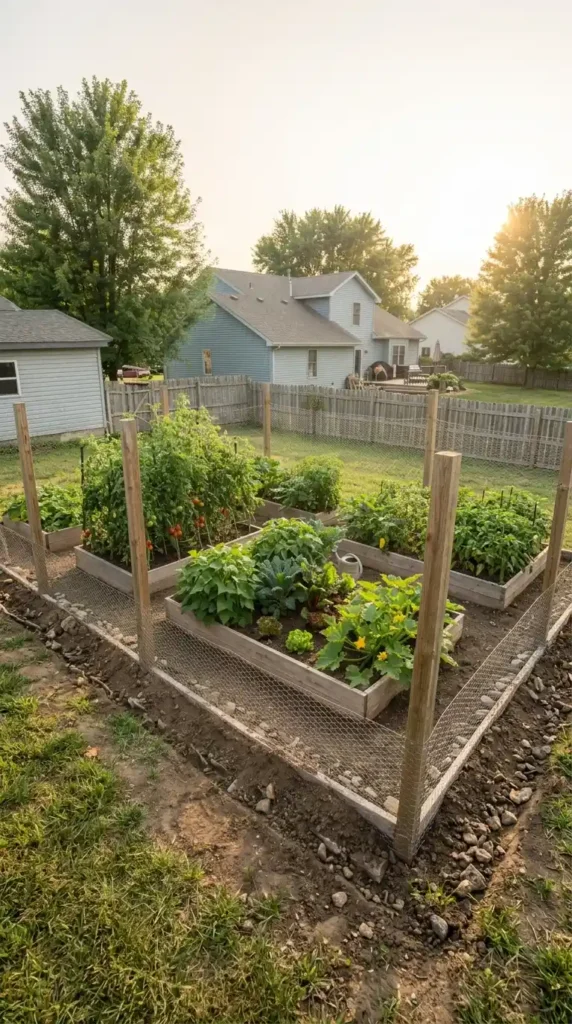
Chicken wire is incredibly affordable, easy to work with, and keeps out most critters . It is see-through, so it does not block your view of the garden . While not the fanciest option, it gets the job done efficiently.
Materials Needed:
Step-by-Step Instructions:
- Drive wooden or metal stakes into the ground at regular intervals (about 6 feet apart)
- Unroll the chicken wire along the fence line
- Staple or nail the wire to the posts, pulling it tight to prevent sagging
- Bend the bottom edge of the wire outward or bury it a few inches into the soil to stop animals from digging under
- Secure the ends and trim any excess wire
Tips for Beginners:
- Wear thick gloves when handling wire mesh to protect your hands
- Combine wire mesh with wooden frames if you want an aesthetic upgrade
4. No-Dig Garden Fence: The Quick and Easy Option
✦ Best for: Renters, temporary gardens, or anyone who wants a fence without disturbing the soil
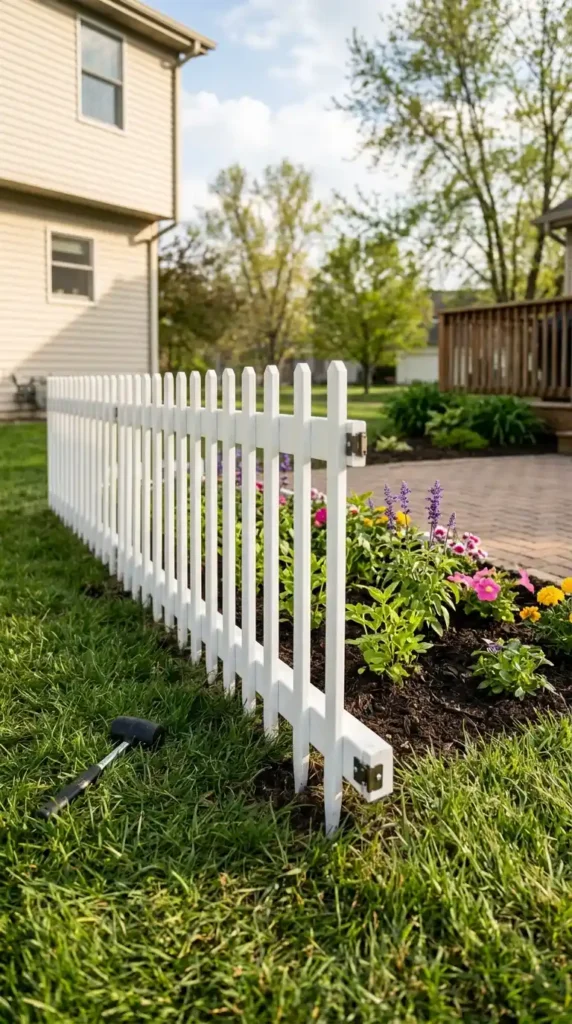
Imagine enhancing your garden’s appeal in just a few hours without breaking a sweat or disturbing the soil . No-dig fences are perfect for environmentally conscious gardeners or anyone who wants a quick weekend project.
Materials Needed:
Step-by-Step Instructions:
- Determine the areas where you want the fence and mark the perimeter
- Assemble the fence panels according to the instructions found inside the box
- Hammer each section into the ground using a mallet
- Fix the clasp on each piece to connect them, extending the fence indefinitely
- Screw each section to one another with the included screws
Tips for Beginners:
- This approach saves time and effort while minimizing the impact on your garden’s ecosystem
- Perfect for renters who need a non-permanent solution
5. Lattice Fence: Elegant and Plant-Friendly
✦ Best for: Creating a light, decorative barrier that supports climbing plants
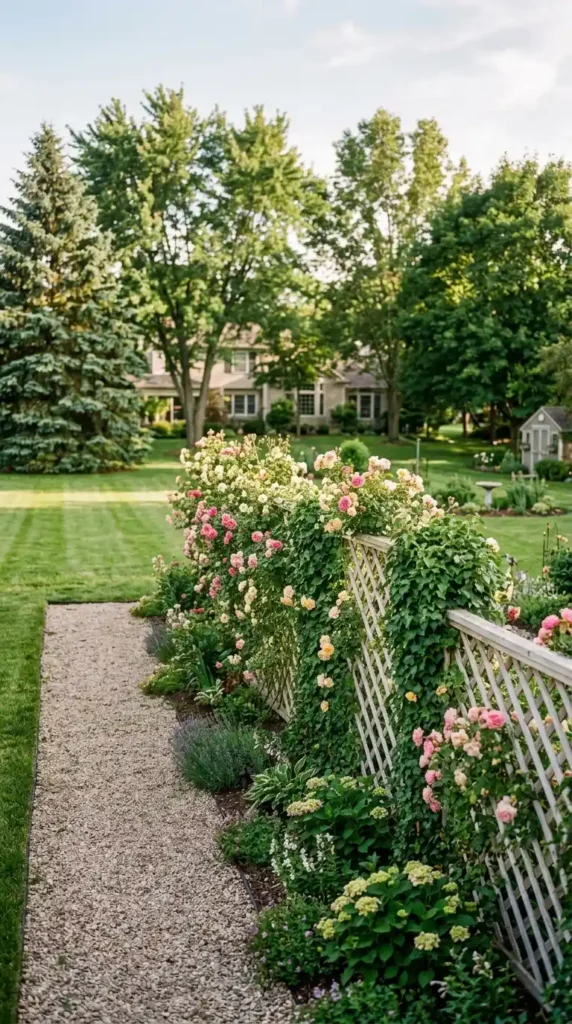
Lattice sheets are a staple at home improvement stores and cost very little . They let air flow through, which is great for windy areas, and create a perfect support for climbing vines like jasmine or ivy .
Materials Needed:
Step-by-Step Instructions:
- Mark the fence line and post positions (spaced about 6 to 8 feet apart)
- Dig post holes and set wooden posts with concrete for stability
- Attach horizontal rails between posts to support the lattice panels
- Secure the lattice panels to the rails using screws or nails
- Paint or stain for weather protection
Tips for Beginners:
- Plant climbing vines along the base and train them to fill in the fence for added beauty and privacy
- Make sure your posts are strong enough to support the weight of mature plants
6. Wattle Fence: Rustic and Free
✦ Best for: Cottage gardens and natural landscapes where you want a fence that blends into the surroundings
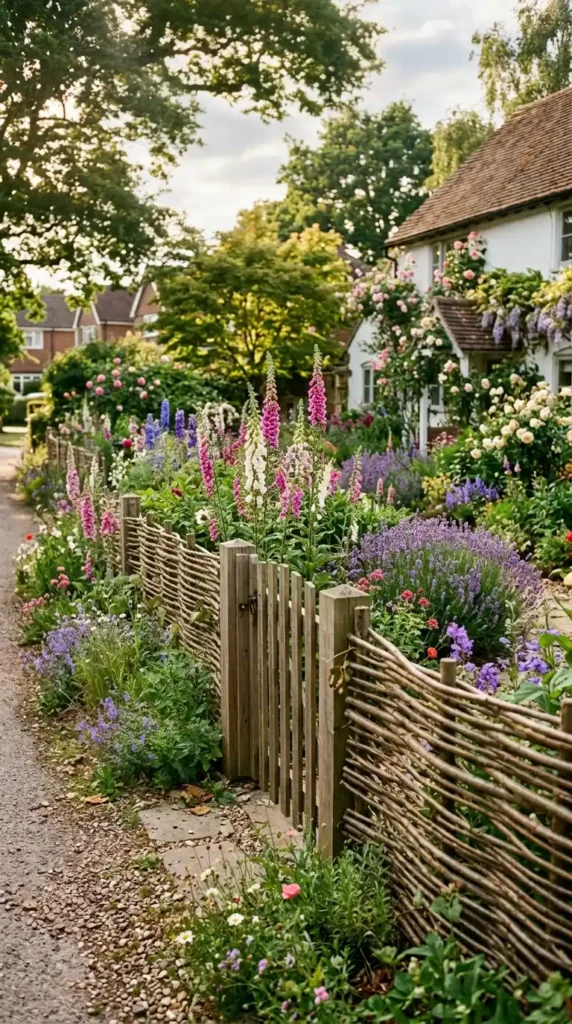
If you have access to flexible branches like willow or hazel, this fence costs absolutely nothing . It looks like something out of a fairytale and holds up surprisingly well . It creates a solid barrier that looks completely natural.
Materials Needed:
Step-by-Step Instructions:
- Drive sturdy wooden stakes or thick branches into the ground at regular intervals
- Collect flexible twigs or thin branches
- Weave the branches horizontally between the stakes, alternating directions with each row
- Press the twigs tightly together for a strong, stable fence
- Continue weaving until you reach the desired height
Tips for Beginners:
- Weave the branches while they are still green and supple—if you wait until they have dried, they tend to break
- This feels like doing a giant craft project and is a pleasant way to spend an afternoon
7. Corrugated Metal Fence: Modern and Durable
✦ Best for: Contemporary gardens where you want complete privacy and a modern look
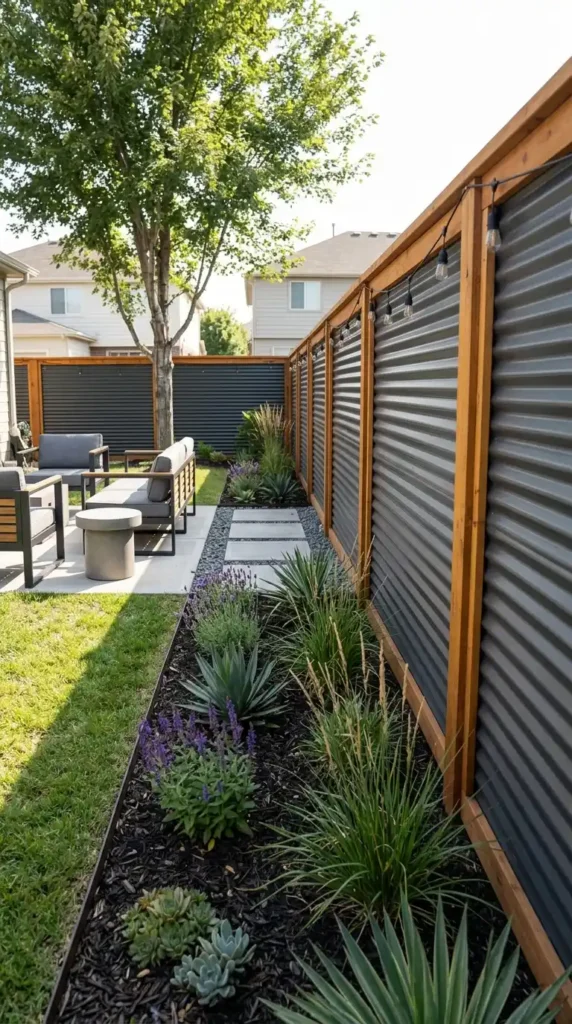
Corrugated metal is inexpensive, covers a lot of ground quickly, and provides complete privacy . It reflects light, which can brighten shady corners of the garden . It is also incredibly durable and requires very little maintenance .
Materials Needed:
Step-by-Step Instructions:
- Install wooden or metal posts around the garden area
- Place corrugated metal sheets between or against the posts
- Attach the sheets to the posts using screws
- Frame the metal with wood to soften sharp edges and prevent cuts
Tips for Beginners:
8. Recycled Door Fence: Quirky and Solid
✦ Best for: Creating a unique, solid privacy fence with a vintage touch
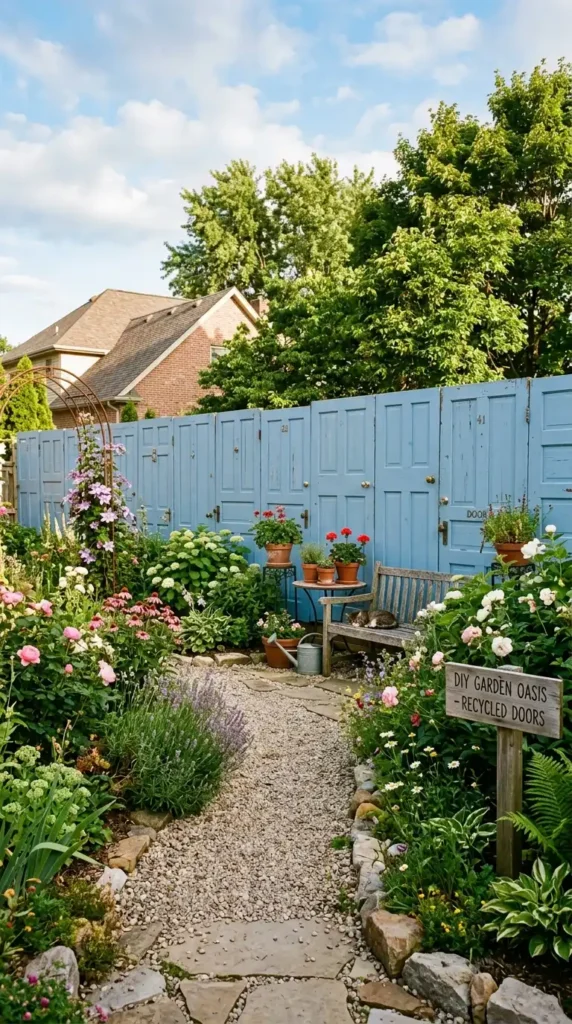
Old doors can make for a super quirky and solid privacy fence . You can find them for free or cheap at salvage yards or online marketplaces . Painting them all the same color unifies the look .
Materials Needed:
Step-by-Step Instructions:
- Collect and clean old window frames or doors
- Place wooden posts firmly into the ground
- Attach the doors to the posts using strong screws or hinges
- If needed, trim the doors to adjust the height or width
- Seal them well so they do not rot in the rain
Tips for Beginners:
- Sealant rated for outdoor use and UV exposure extends their lifespan
- It makes a statement and provides total privacy
9. Living Hedge Fence: A Natural Barrier
✦ Best for: Gardeners who prefer a sustainable, natural fence that provides habitat for birds
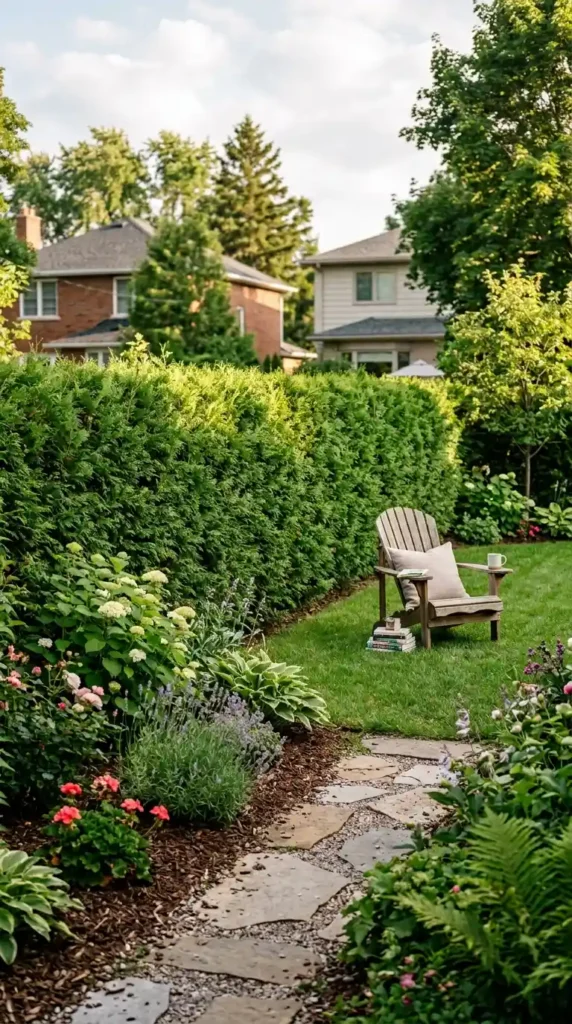
A living hedge is a fence you grow yourself . It provides habitat for birds, looks beautiful year-round, and costs less than lumber over time . While it takes patience, the result is a natural, sustainable boundary .
Materials Needed:
Step-by-Step Instructions:
- Choose plants suited to your climate and soil
- Mark your hedge line and space plants about 1 to 2 feet apart
- Loosen soil, add compost or fertilizer if needed
- Dig holes and plant shrubs, watering well after planting
- Maintain by watering regularly and pruning annually to encourage bushy growth
Tips for Beginners:
- Combine hedges with low fencing initially until plants mature
- To get the most privacy, make sure you plant each plant close enough that there are no gaps at maturity
10. Wire Mesh Fence: Strong and Protective
✦ Best for: Gardens where you need protection from larger animals like deer
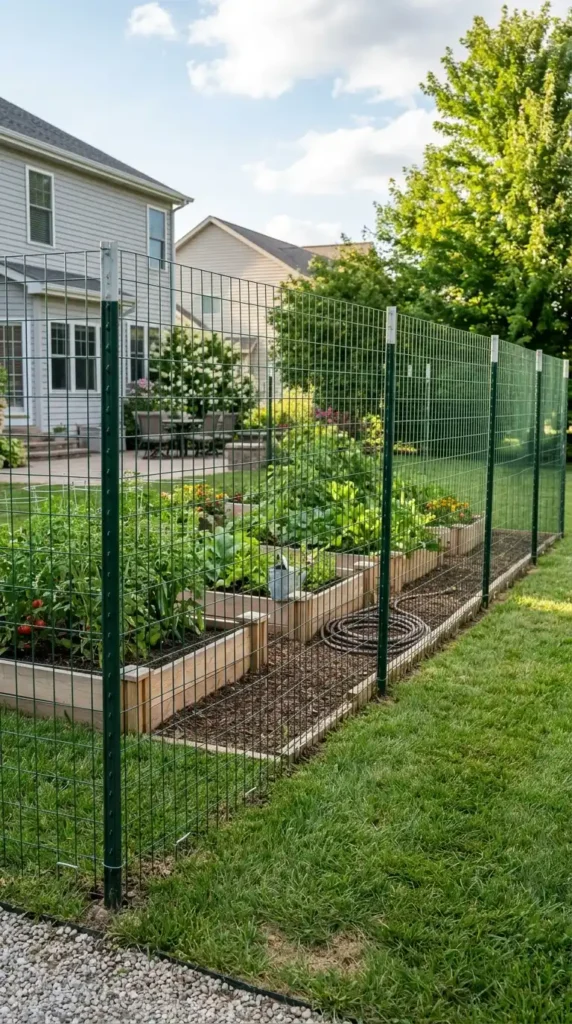
Unlike chicken wire, welded wire or hardware mesh is stronger and more durable . It provides better protection against larger animals while still keeping the garden open and airy .
Materials Needed:
- Wire mesh roll (welded wire or hardware cloth)
- Wooden posts or metal T-posts
- Staple gun or U-nails
- Wire cutters
Step-by-Step Instructions:
- Install posts at intervals of 6 feet
- Unroll wire mesh along the fence line
- Attach the mesh tightly to posts using staples or U-nails
- Bend or bury the bottom edge into the soil to prevent animals from getting underneath
- Trim excess wire and secure edges
Tips for Beginners:
- If you are worried about rusting, choose galvanized wire mesh
- This creates a strong fence with proper tension that will keep out deer and large pests
Frequently Asked Questions About DIY Garden Fences
1. What is the cheapest material for a DIY garden fence?
Pallets are often free, making them the cheapest option . Chicken wire is also very affordable, costing around $2 to $4 per linear foot . Fallen branches can be used to build a wattle fence at no cost .
2. Can I build a garden fence without digging holes?
Yes, no-dig garden fences are a great option. You can use pre-assembled panels with pointed bottoms that simply hammer into the ground . You can also use T-posts that are driven into the ground without digging.
3. What is the best fence to keep animals out of a garden?
For small animals like rabbits, chicken wire or hardware cloth with a buried bottom edge is very effective . For larger animals like deer, a sturdy welded wire fence or livestock panels are a better choice .
4. How deep should fence posts be?
A good rule is to bury about one-third of the post length underground . For a 6-foot fence, your post hole should be at least 2 feet deep. For colder climates, it is best to dig below the frost line.
5. How far apart should fence posts be spaced?
For most wood fences, space posts about 6 to 8 feet apart . For wire fences, you can go up to 10 or 12 feet apart if the wire is stretched tight . For heavy materials like pallets, keep spacing closer at about 6 feet .
6. What tools do I need for a DIY garden fence?
The basic tools you will need include a tape measure, level, hammer or drill, saw, and a post hole digger . If you are building a no-dig fence, you will only need a mallet .
Related Articles
Large Indoor Plants That Make a Statement in Any Room
Best Plants for Full Sun and Heat: 10 Picks That Thrive When Temperatures Soar
The Complete Beginner Tomato Growing Guide (Everything in One Place)
How to Water Tomatoes Finger Test: A Simple Guide for Healthier Plants
Building your own garden fence does not have to be expensive or complicated. With a little creativity and some basic materials, you can create a beautiful, functional boundary that protects your plants and enhances your outdoor space.

Sheikh Hassaan is a digital architect for small businesses and the founder of The Glow Up System. He writes about home decor, garden design, and outdoor living for real American homes – practical ideas that work in actual spaces without oversized budgets.